A safe rock bolt installation procedure uses six controlled steps: inspect and scale the face, mark the pattern, drill and clean each borehole, install the specified bolt, tension it, and verify capacity. Each step controls a different failure mode. The documented rock bolt installation procedure also gives supervisors a repeatable checklist for every heading.
Why is a rock bolt installation procedure critical?
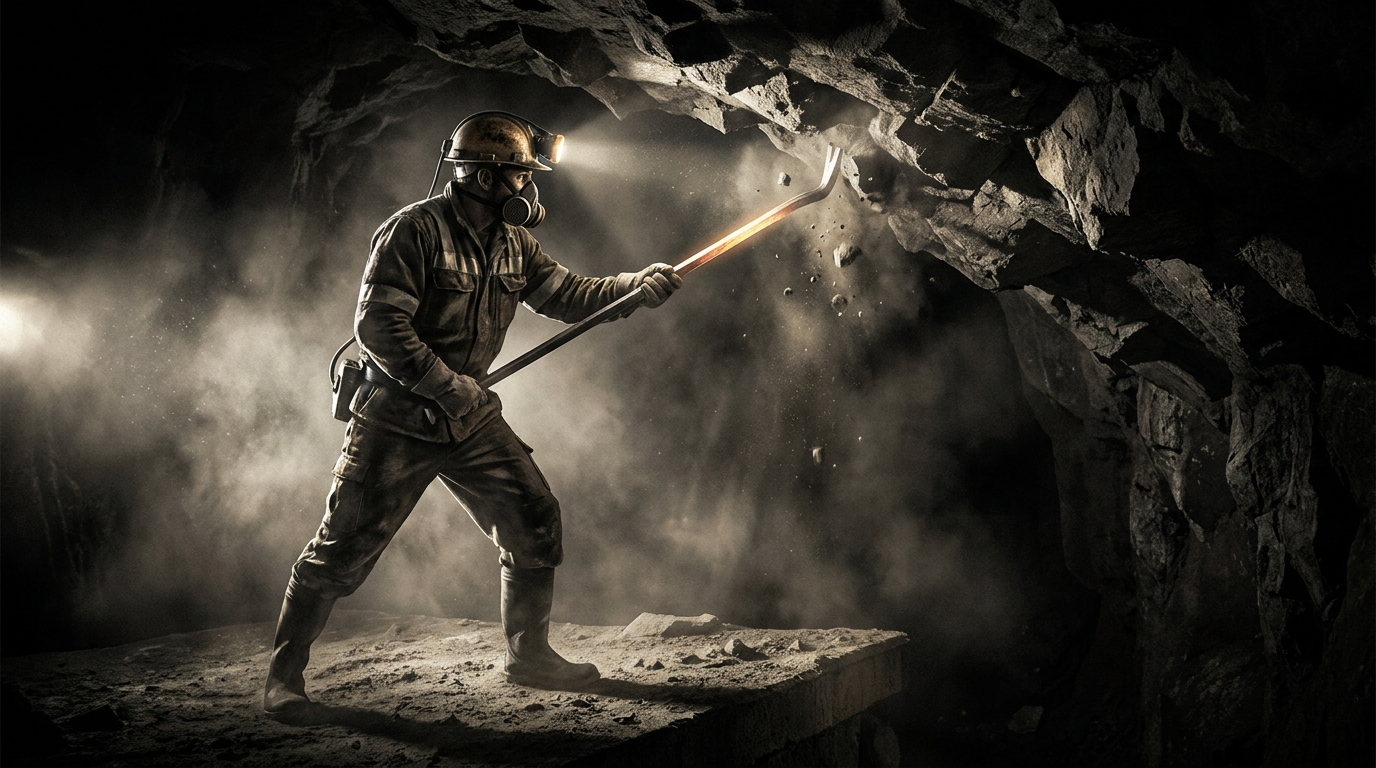
A rock bolt installation procedure binds fractured or weak strata into a self-supporting arch. Bolts transfer load from loose surface blocks into competent rock, while plates and mesh control the excavation surface. As a result, the support system limits joint opening, block movement, and roof falls.
In deep excavations, rock stress changes after every blast and advance. Therefore, crews must install support in the sequence and spacing set by the ground-control design. Correct anchorage restrains joint dilation and keeps the opening stable for people and equipment.
How do rock bolts stabilize a fractured rock mass?
Rock bolts stabilize jointed ground in three ways:
- Friction forces are created along natural joints to prevent sliding.
- Deeper, competent rock acts as an anchor for loose outer layers.
- Beam building effects distribute regional tension evenly across the roof.
Bolt length, spacing, orientation, and tension must match the mapped joints and expected load.
| Stabilization Phase | Mechanical Action | Primary Structural Benefit | |
|---|---|---|---|
| Suspension | Anchors loose skin to stable deep rock | Prevents immediate gravitational fall | |
| Beam Building | Compresses jointed strata into one thick slab | Multiplies localized shear resistance | |
| Arching Effect | Combines radial forces into a support ring | Distributes massive overburden loads |
The table below shows how suspension, beam building, and arching support the rock mass.
Step 1: Inspect and scale the rock face
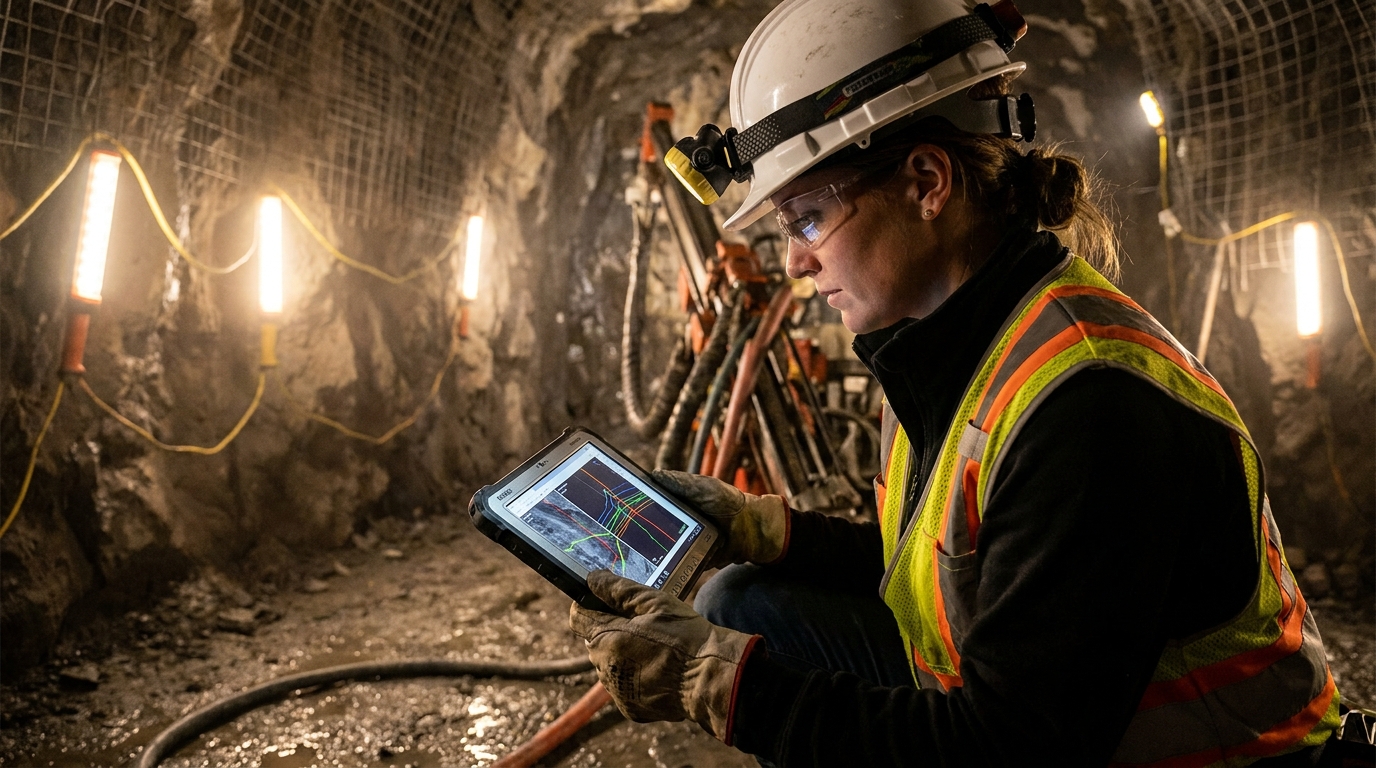
Begin with a geological inspection and scale loose rock from the face. Before drilling, record joint orientation, water inflow, weak layers, and the rock-mass rating. This check protects crews from unsupported blocks and gives engineers the data needed to confirm the bolt pattern.
If the face contains a fault, shear zone, or unexpected water, revise the layout before drilling. For example, the design may require closer spacing, longer bolts, mesh, or a different anchorage system.
How should crews mark drill points?
Next, transfer the design pattern to the rock face with a clear baseline and high-visibility marks:
- Establish a precise reference baseline along the excavation centerline.
- Mark the designated grid pattern using high-visibility spray paint.
- Verify that the spacing stays within the strict design tolerances.
Each mark should match the specified spacing, angle, and edge distance.
| Layout Metric | Standard Design Specification | Safety Tolerance Limit | |
|---|---|---|---|
| Bolt Spacing | 1.0 m to 1.5 m grid | Maximum ±100 mm deviation | |
| Pattern Alignment | Perpendicular to rock joints | Within 5 degrees of nominal angle | |
| Edge Distance | Minimum 300 mm from corners | Must prevent edge blowout |
Accurate marking keeps loads distributed across the support pattern and helps plates seat correctly.
Step 2: Drill straight boreholes to the specified depth
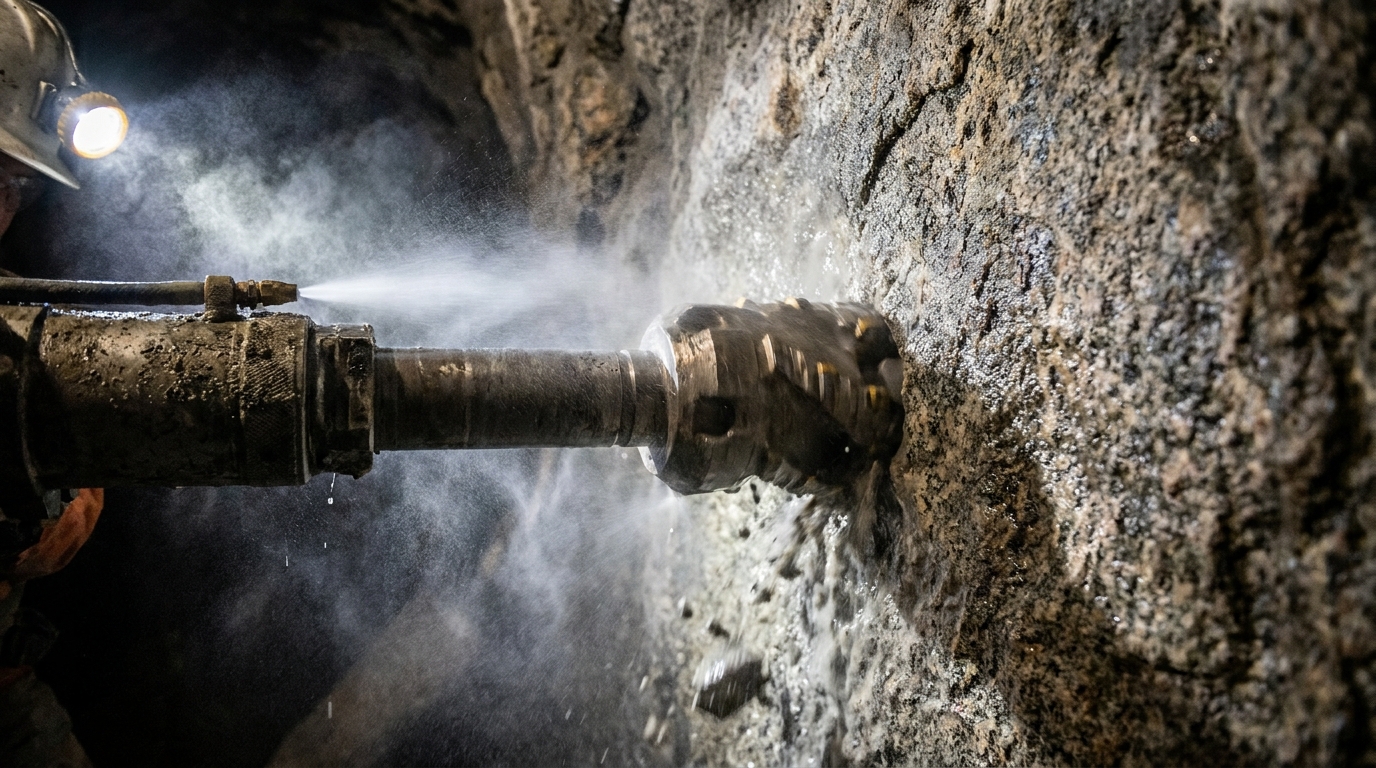
Drill each borehole with the bit diameter, length, and angle specified for the selected bolt. A large hole can reduce anchorage, while a small hole can prevent insertion or produce excessive driving force. Keep the hole as close as practical to the design angle so the bearing plate can seat against the rock. Record diameter, depth, and angle as part of the rock bolt installation procedure.
After drilling reaches the specified depth, remove cuttings before installing the bolt. Dust and packed debris can shorten the usable hole and weaken resin or grout bond. Therefore, flush with air or water until the return runs clean.
Step 3: Clean and verify each borehole
A clean borehole is required for both friction and bonded systems:
- Dust creates a slippery boundary layer that prevents polymer resin adhesion.
- Debris packed at the back of the hole limits the effective bolt insertion length.
- Excess mud corrodes the steel core over the long-term life of your tunnel.
Keep flushing until the discharge contains no visible dust, mud, or rock chips.
| Cleaning Method | Application Environment | Technical Verification | |
|---|---|---|---|
| Compressed Air | Dry, solid rock mass conditions | Air blowback runs clear of visible dust | |
| Water Flushing | Fractured, highly jointed strata | Discharge water runs clean and free of silt | |
| Mechanical Brushing | Heavily clayed or muddy borehole walls | Borehole internal diameter is fully cleared |
Then verify the full hole depth before releasing it for installation.
Step 4: Select the right rock bolt system
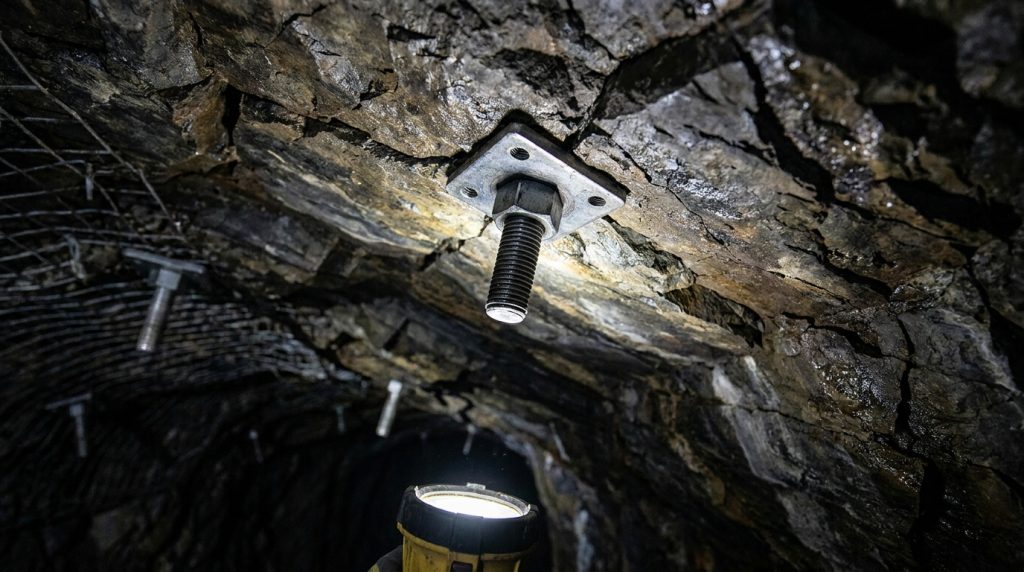
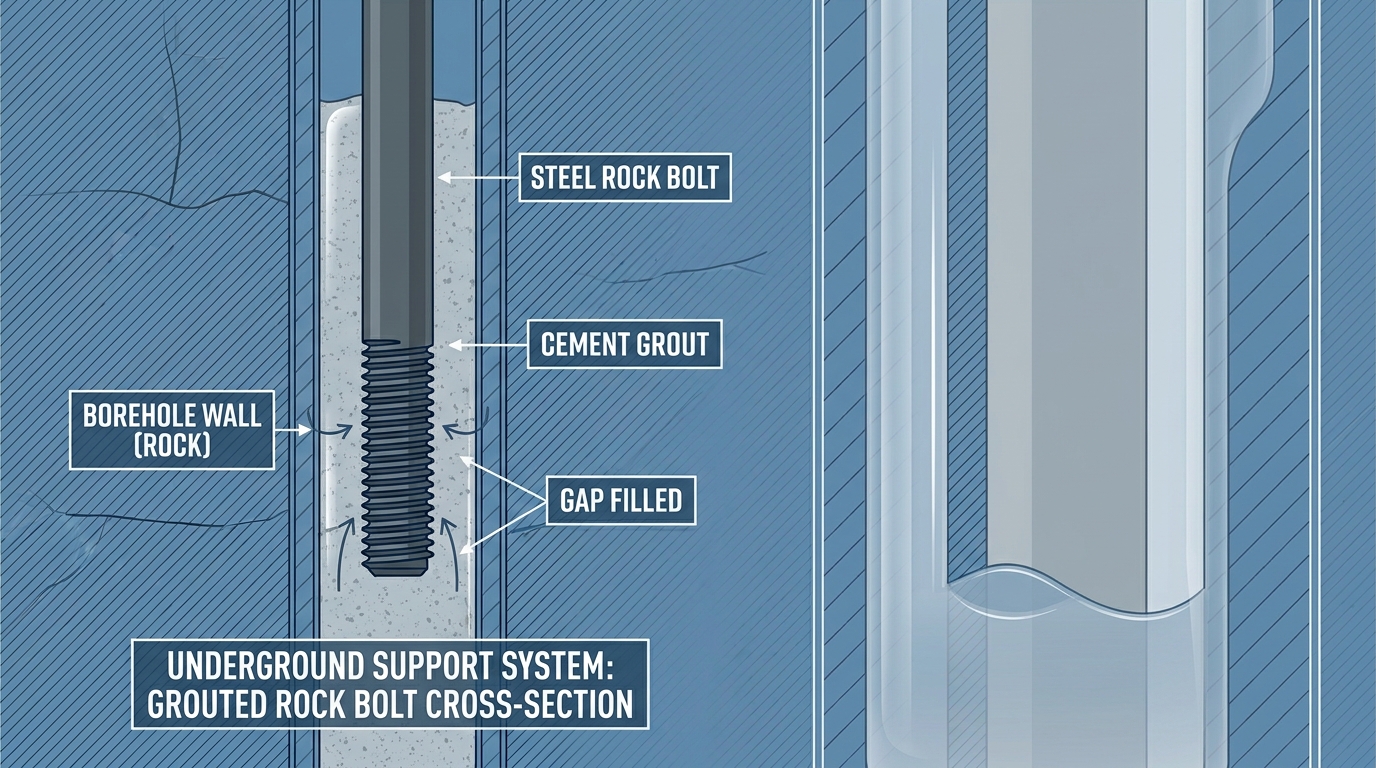
Select the bolt from the ground model, required capacity, service life, and installation cycle. A paddle rock bolt can provide yielding support in deforming ground. A fully grouted resin rock bolt suits permanent support where continuous bond and corrosion protection are required.
Bolts do not control every small surface fragment. In weak or blocky ground, install steel bar welded mesh with the plates to restrain rock between bolt locations.
How do ground conditions determine bolt type?
Match the anchorage mechanism to the expected ground movement:
- Mechanical bolts provide rapid, localized point anchoring in hard ground.
- Fully grouted systems seal out moisture to prevent long-term steel corrosion.
- Yielding anchors absorb energy in active seismic or high-stress zones.
Use the geotechnical design, field observations, and test results to confirm the bolt type.
| Rock Bolt Category | Primary Anchor Mechanism | Best Geological Application | |
|---|---|---|---|
| Yielding Paddle Bolt | Mechanical elongation/resin bond | High-stress, squeezing ground | |
| Resin-Anchored Bolt | Continuous chemical adhesion | Permanent civil tunnels, heavy mining | |
| Friction Stabilizer | Radial spring friction grip | Rapid tunnel development, temporary support |
The table below compares yielding, resin-anchored, and friction systems.
How do you install a resin rock bolt?
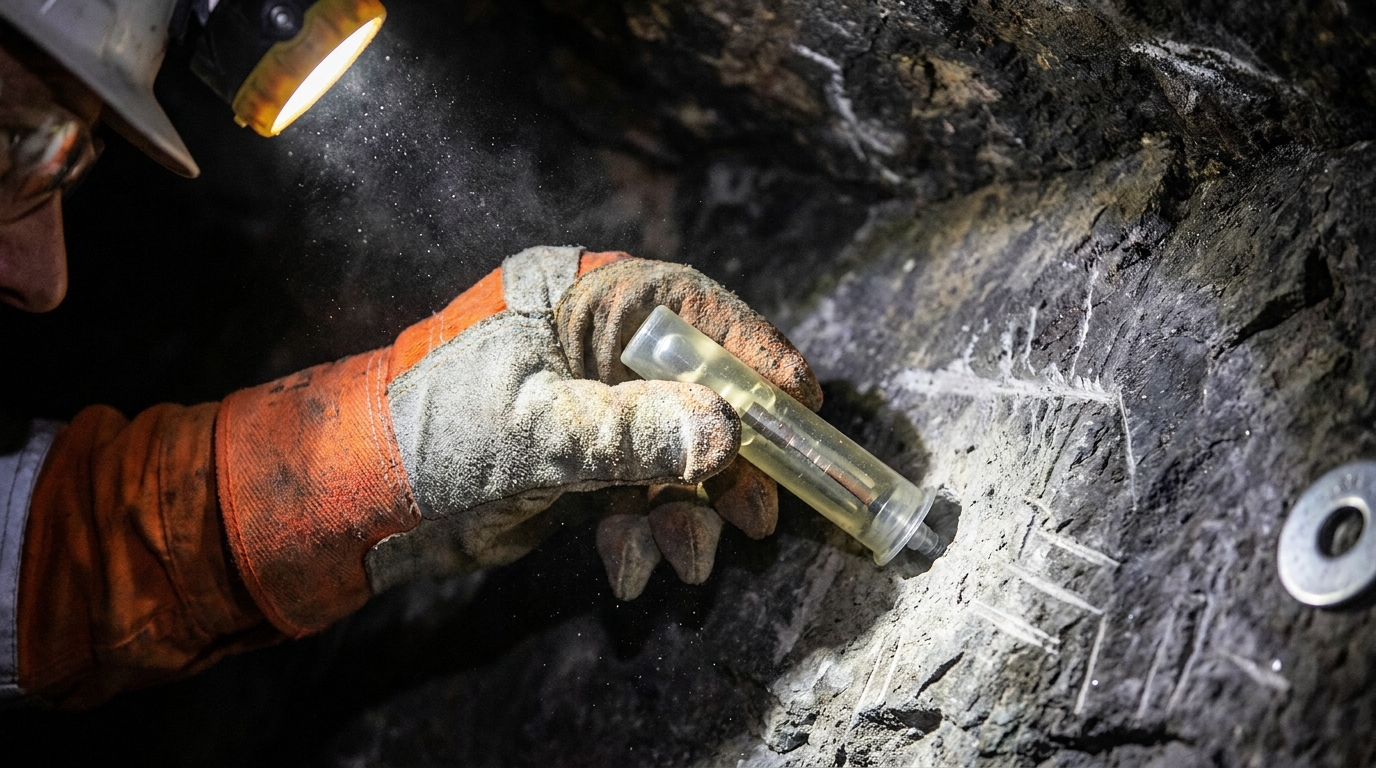
For resin anchoring, insert the specified capsules to the back of the clean borehole. Then push and spin the bolt for the manufacturer’s stated time so the resin and catalyst mix along the embedded length. The resin capsules must provide the required gel time and annular volume. Hold the bolt still until the resin cures.
Where corrosion or magnetic interference rules out steel, the design may specify a fiberglass resin roof bolt. Confirm its tensile capacity, resin compatibility, and handling procedure before use.
How do you control resin mixing and curing?
Control four variables during chemical anchoring: storage temperature, capsule quantity, spin time, and hold time.
- Always store resin capsules within the manufacturer’s recommended temperature ranges.
- Spin the bolt rapidly for the exact number of seconds specified on the container.
- Never disturb the bolt while the compound transitions from liquid to solid.
The spin-and-hold sequence must follow the resin manufacturer’s instructions.
| Curing Phase | Required Action | Critical Parameter | |
|---|---|---|---|
| Insertion | Push bolt slowly to avoid capsule shredding | Clean borehole to full design depth | |
| Mixing / Spinning | Spin bolt at high RPM to blend resin components | Typically 10 to 15 seconds duration | |
| Holding / Curing | Maintain solid hydraulic pressure on the rod | Hold static for 30 to 60 seconds |
Record capsule batch, installation time, and curing conditions when the quality plan requires traceability.
When should you use friction bolts?
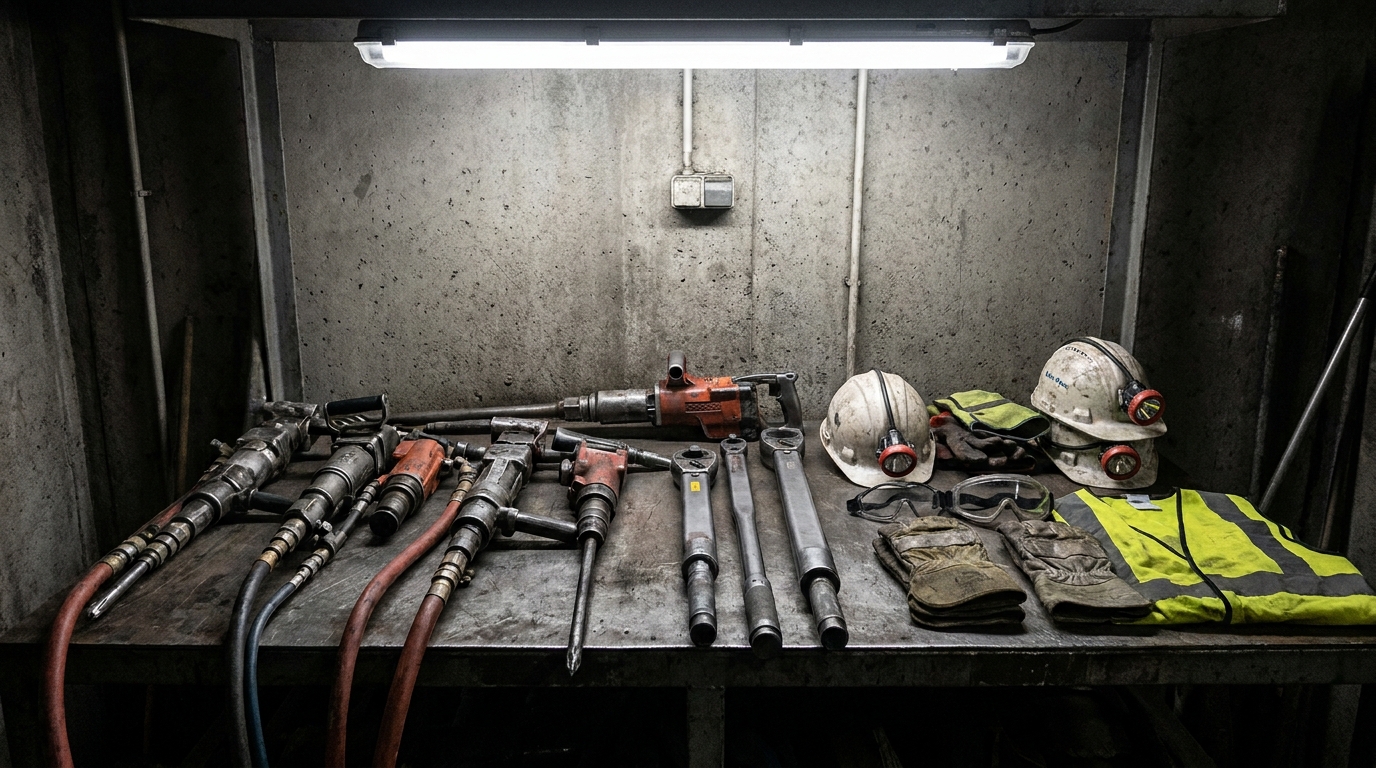
Friction bolts provide immediate support because they do not need resin curing. A split set bolt is driven into a hole slightly smaller than the tube, which compresses the steel and creates radial contact along the borehole. This method shortens the installation cycle in suitable ground.
Friction stabilizers suit rapid mine development and temporary tunnel headings. However, the design must account for borehole diameter, corrosion exposure, required load, and expected ground movement.
How do split sets provide immediate support?
Split sets develop support through continuous spring pressure against the borehole wall:
- The spring-steel C-channel conforms tightly to irregular borehole walls.
- Friction forces scale directly with the length of the embedded steel tube.
- Immediate load-bearing capacity allows crews to scale and blast safely.
They also simplify logistics because crews do not need resin storage, mixing, or curing controls.
| Anchor Parameter | Friction Bolt Specification | Operational Benefit | |
|---|---|---|---|
| Borehole Diameter | Must be 2-3mm smaller than bolt tube | Generates maximum radial spring force | |
| Driving Method | High-power impact drill or pneumatic rammer | Fast, straightforward mechanical insertion | |
| Load Performance | 8 to 12 tons of immediate holding force | Allows instant safe re-entry to the face |
Use them only where pull tests confirm that the ground and borehole diameter can deliver the specified capacity.
Step 5: Tension the rock bolts
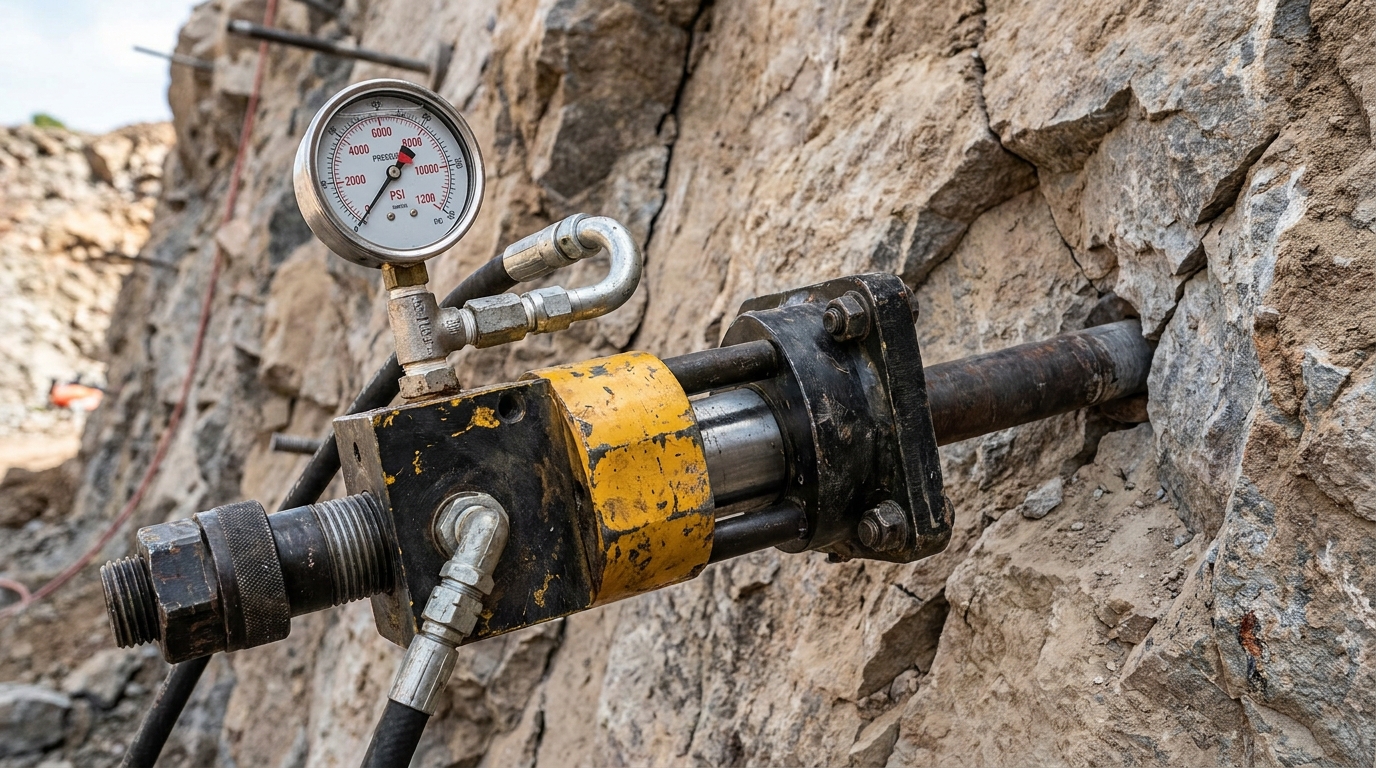
Tension the installed bolt with a calibrated torque wrench or hydraulic jack. Pre-tension clamps the plate against the face and restrains joint opening before significant rock movement occurs. Follow the project rock bolt installation procedure for target torque or axial load.
The load path also depends on the face hardware. A correctly sized rock-bolt plate spreads force across uneven rock. Spherical washers, high-tensile nuts, and other rock-bolt accessories help accommodate alignment and protect the threaded end.
Why does pre-tension matter?
Without pre-tension, some bolts begin carrying load only after the rock moves. Active pre-tension reduces that movement and keeps plates tight against the face.
- Active tensioning clamps jointed strata together to create a rigid beam.
- Pre-compressed rock mass displays significantly higher shear strength.
- Tensioned plates prevent surface spalling and loose rock falls.
Use calibrated equipment and follow the specified loading sequence.
| Tensioning Component | Crucial Engineering Function | Failure Risk if Omitted | |
|---|---|---|---|
| Bearing Plate | Distributes high point-loads over a wider rock surface | Localized rock crushing and bolt failure | |
| Dome Washer | Accommodates misalignments up to 15 degrees | Bending stress on the threaded bolt neck | |
| Tension Nut | Translates rotational torque into axial tension force | Thread stripping under massive seismic loads |
Finally, record the torque or jack pressure for each test location.
Step 6: Verify capacity with pull-out tests
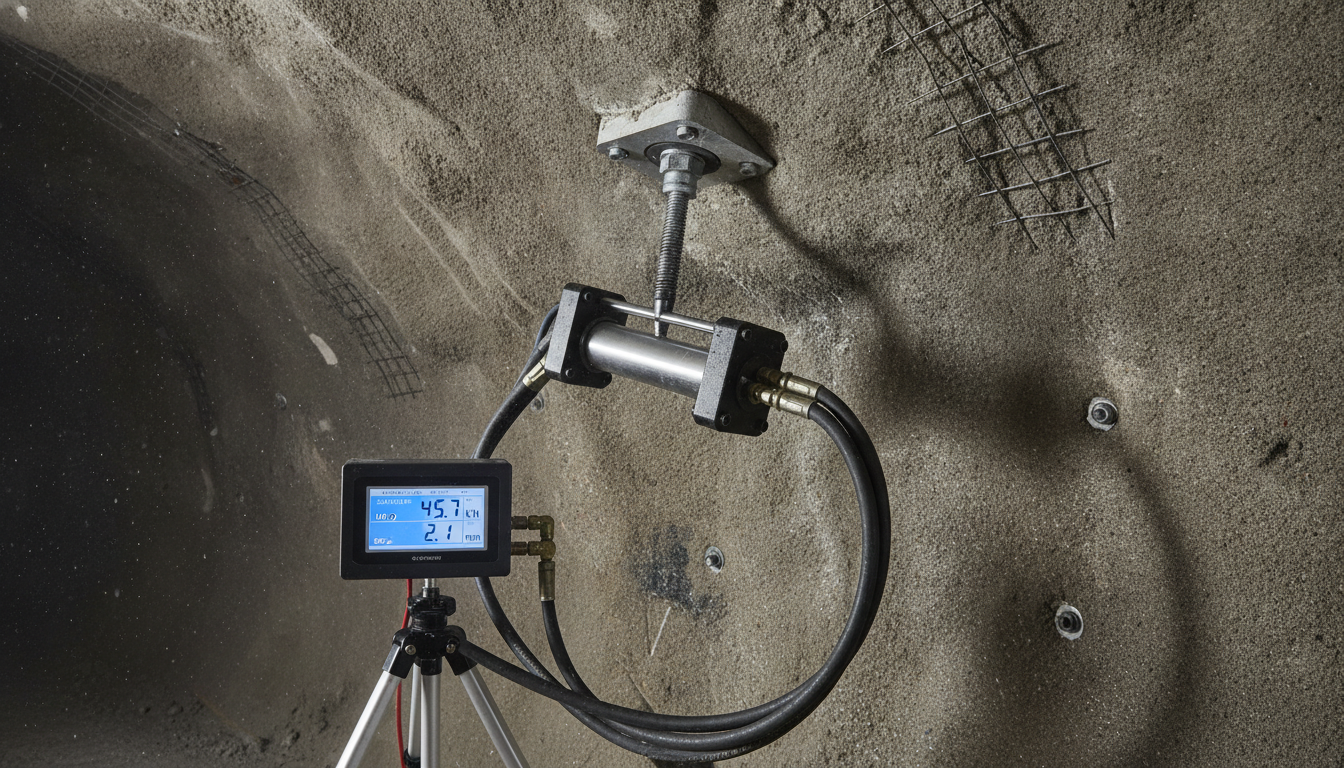
Pull-out tests verify installed capacity and reveal problems with hole diameter, cleaning, resin mixing, or ground conditions. Apply the load in controlled increments and record displacement at each stage. If an anchor slips below the acceptance limit, stop and correct the installation parameters before continuing the pattern.
Test data can also support changes to spacing or bolt length in later headings. However, an engineer must approve any design change; field results do not replace the ground-control plan.
How do you perform a pull-out test?
To perform a pull-out test, fit the hydraulic ram squarely over the bolt tail and isolate the area behind the equipment. Then load the anchor in the increments required by the test procedure:
- Isolate the testing area to ensure no personnel stand directly behind the hydraulic jack.
- Record hydraulic pressure readings systematically at designated loading increments.
- Check for continuous anchor displacement using a highly precise dial indicator.
The test record should identify the anchor, equipment calibration, load steps, hold time, and measured displacement.
| Test Stage | Target Force | Evaluation Metric | |
|---|---|---|---|
| Initial Seating | 10% of Design Load | Assures hydraulic equipment is flush and aligned | |
| Proof Loading | 100% to 120% of Design Capacity | Bolt must hold force for 10 minutes without slipping | |
| Ultimate Limit Test | Checked on sacrificial test anchors | Measures actual failure point of the steel or resin bond |
Keep the completed record with the installation quality documentation.
Rock bolt installation safety rules
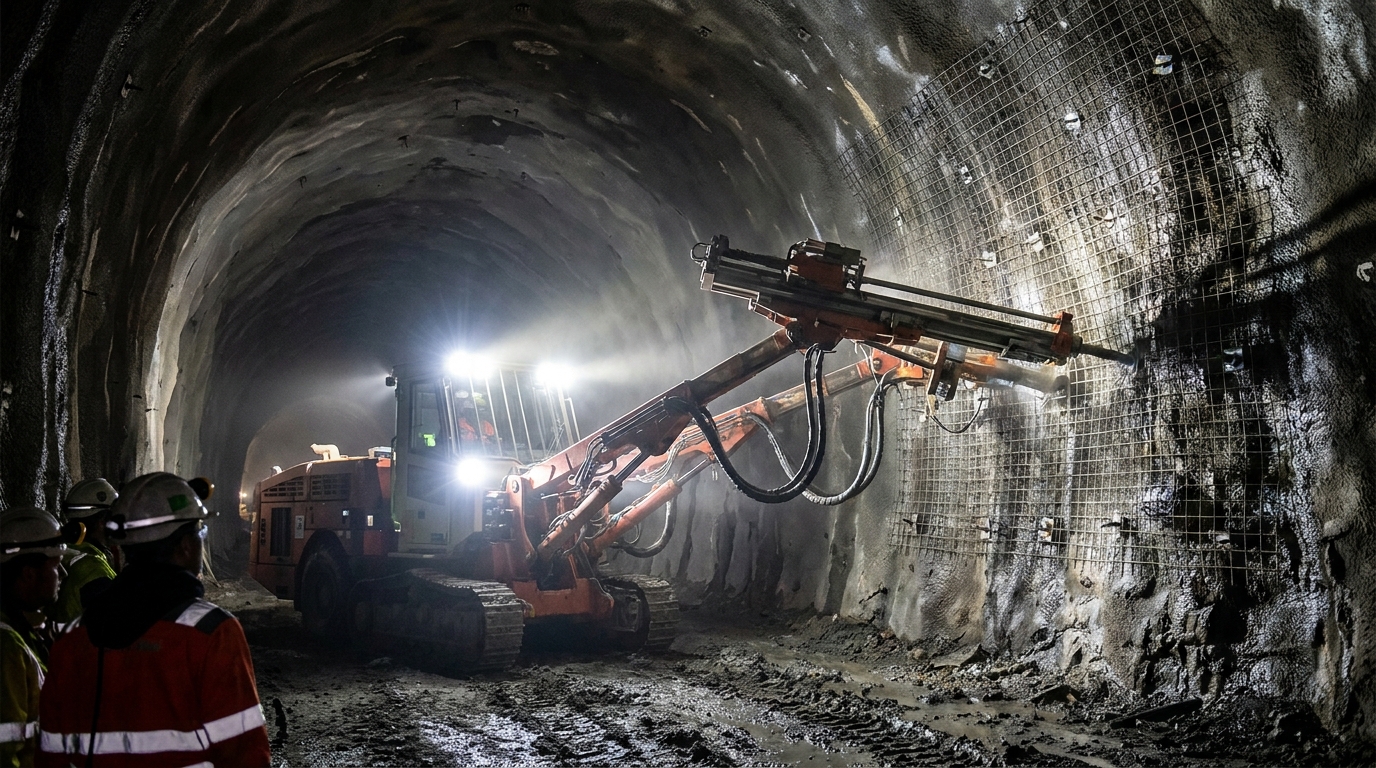
A safe rock bolt installation procedure controls falling rock, drilling dust, resin exposure, and high-pressure equipment. Never allow people beneath unsupported ground. Use the required canopy or remote equipment, wear the specified PPE, and maintain ventilation throughout drilling and resin installation. For broader ground-control guidance, see NIOSH’s mining and ground falls resources.
Inspect hydraulic hoses, drill steels, guards, scaling tools, and emergency stops before each shift. A failed hose or rotating component can release stored energy without warning.
How should crews control dust and ventilation?
Wet drilling or dust collection should control silica at the source. Forced ventilation removes drilling dust, diesel exhaust, and resin vapors from the heading.
- Dry drilling must be strictly prohibited; always use wet-drilling or dust-collection systems.
- High-velocity exhaust fans must continuously flush out toxic gases and chemical fumes.
- Face masks and respirators should be mandatory during all active drilling cycles.
Respiratory protection supplements engineering controls; it does not replace them.
| Underground Hazard | Engineering Control Strategy | Administrative Protection | |
|---|---|---|---|
| Silica Rock Dust | Wet-injection drilling and dust hoods | Mandatory N95/P100 mask usage | |
| Falling Loose Rock | Remote scaling rigs and safety canopies | Strict “no-entry under raw roof” policy | |
| Chemical Resin Fumes | High-volume forced air ventilation | Regular occupational health monitoring |
Assign a competent person to inspect ground conditions and keep workers outside unsupported areas.
What should you ask a rock bolt supplier?
Choose a supplier that can document bar grade, thread dimensions, load capacity, coating, resin compatibility, and batch testing. For custom systems, provide the ground conditions, design load, bolt length, drilling equipment, and required service life.
Ask for drawings, test certificates, installation instructions, and delivery lead times before ordering. For sizing, technical documents, or a quotation, send the project requirements through our contact page.
How do you assess a factory-direct supplier?
Compare suppliers on traceability, engineering support, production capacity, and total delivered cost:
- Direct access to engineering modifications for unique geological profiles.
- Strict ISO-certified production lines that test every batch of high-tensile steel.
- Reduced lead times and consolidated shipping of bolts, plates, and meshes.
A direct factory can shorten the feedback loop for custom sizes, but the project team should still verify test records and specification compliance.
| Supply Chain Path | Quality Assurance Control | Pricing and Lead Time Efficiency | |
|---|---|---|---|
| Direct Factory | Direct batch testing and certified steel grades | Best bulk B2B rates with custom production schedules | |
| Third-Party Broker | Harder to trace material mill-sheets | Additional markups and potential shipping delays | |
| Local Distributor | Standard off-the-shelf inventory only | Limited customization options for difficult geologies |
Keep mill certificates, coating records, batch tests, and inspection reports with the purchase documentation.
Request rock bolt specifications and pricing
Send Yongduo the required bolt type, diameter, length, thread, design load, coating, quantity, and destination. We can then confirm compatible plates, nuts, mesh, resin capsules, lead time, and test documentation. Request technical data or pricing.
Rock bolt installation procedure FAQ
Can I install rock bolts without mechanical torque wrenches?
No. An uncalibrated tool cannot confirm that the bolt reached its specified pre-tension. Use a calibrated torque wrench or hydraulic system and record the result required by the quality plan.
Which rock bolt suits soft, squeezing ground?
A yielding paddle rock bolt may suit soft or squeezing ground because it can deform while retaining load. The final choice must come from the ground model, expected convergence, design capacity, and project engineer.
How do I know if my borehole is clean enough for resin insertion?
Flush with air or water until the return contains no visible dust, mud, or rock chips. Then verify the full design depth. A contaminated or shallow hole can reduce resin bond and installed capacity.
Can I reuse a rock bolt after a tunnel has been decommissioned?
No. Treat an installed, tensioned, or grouted rock bolt as permanent ground support. Extraction can damage the bar, threads, coating, and anchorage, so it should not be reused for structural support.
How many resin capsules do I need per borehole?
Calculate capsule quantity from borehole diameter, bolt diameter, embedded length, capsule volume, and whether the design uses point anchorage or full encapsulation. Follow the resin supplier’s volume and installation instructions; too little resin leaves voids, while excess resin can obstruct insertion.