
Build your return roller conveyor maintenance plan around safe access, clean contact surfaces and sound mounts. Carryback can hide shell wear or pack around roller ends. Then a quick visual check can miss the cause of poor belt contact. Record what you see from a safe route. Before close checks, stop and isolate equipment under your site’s approved procedure.
1. Where should return roller conveyor checks begin?
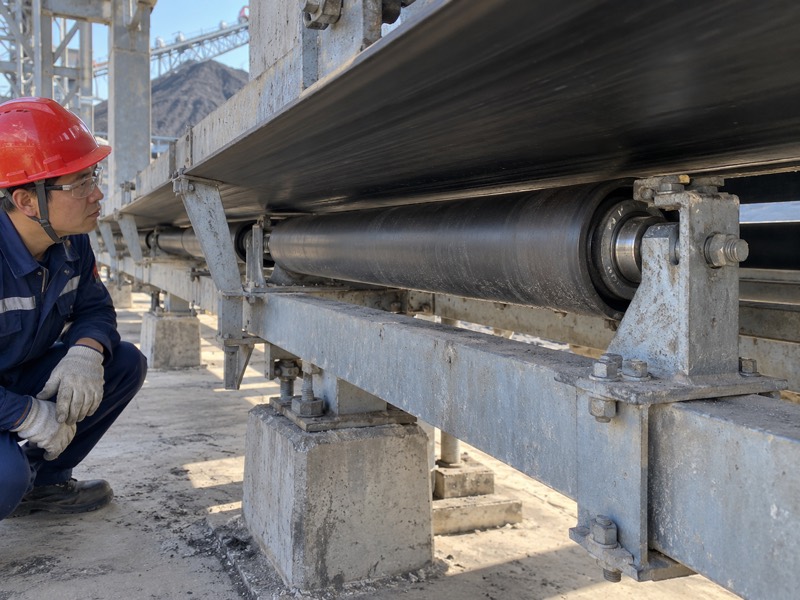
Your return roller conveyor checks should begin with a safe route and a clear station list. This lets you inspect each support without crossing under falling material or reaching through guards. If a station cannot be viewed safely, record that gap. Arrange approved access later rather than taking a shortcut around moving equipment.
How can you make the route useful?
Give every fault a location. Use station names that match your plant records. Then a repair crew can find the right roller without guessing. Record whether your belt was loaded or empty during observation because belt behavior can change with operating state.
- Mark conveyor and station references.
- Note blocked views and access restrictions.
- Record belt state, deposits and visible motion.
What should a route record show?
Keep measured facts apart from suspected causes. For example, a stopped shell is an observation; bearing seizure needs further checks. This distinction helps your crew plan the next safe step.
| Route finding | Record | Next step |
|---|---|---|
| Clear view | Station and condition | Complete visual check |
| Blocked view | Access restriction | Arrange approved access |
| Visible fault | Specific symptom | Plan isolated inspection |
Key Takeaway: Start with a safe route and precise fault locations so later checks address the correct equipment.
2. How should you isolate equipment before close checks?
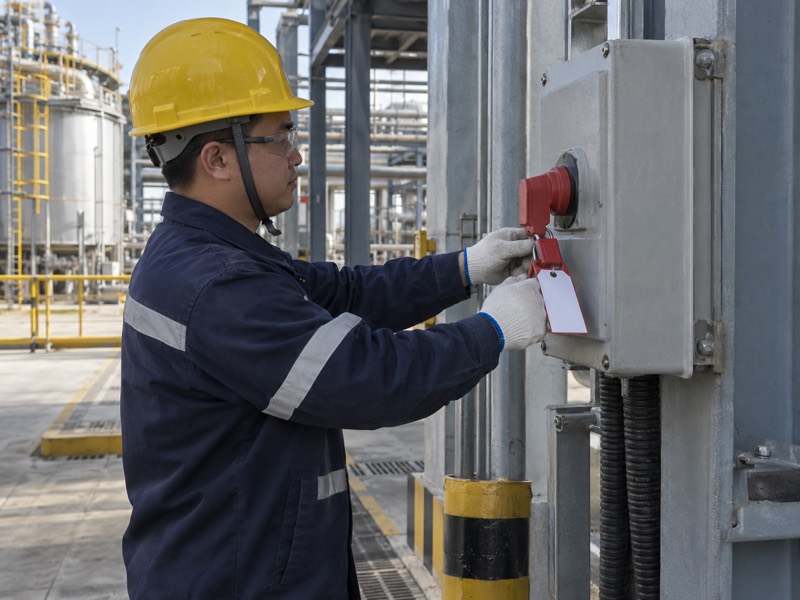
Before close return roller conveyor checks, control hazardous energy using your site’s approved isolation procedure. A stopped belt can still move if stored energy or another power source remains. So your team must identify relevant energy sources and verify the required safe state. Follow the general principles of hazardous-energy control within your approved site process.
Which hazards should your procedure address?
Check more than the stop button. Electrical power, belt tension and possible material movement can affect the job. If work changes guards or supports, its isolation plan must cover those tasks. Only trained, authorized personnel should apply your procedure and verify its completion.
- Identify power and stored-energy sources.
- Apply approved lockout and verification steps.
- Control movement and access for planned work.
What happens if your work scope changes?
Review isolation before starting the added task. For example, removing a roller may create a support or handling hazard that wasn’t covered by a visual check. Update the work plan through your site process.
| Work scope | Hazard review | Required basis |
|---|---|---|
| Close inspection | Unexpected movement | Approved isolation procedure |
| Guard removal | Exposed moving parts | Controlled access and restoration |
| Roller removal | Belt support and handling | Approved replacement method |
Key Takeaway: Verify a safe state for the actual task; stopping a conveyor alone does not establish isolation.
3. How should you clean a return roller conveyor safely?
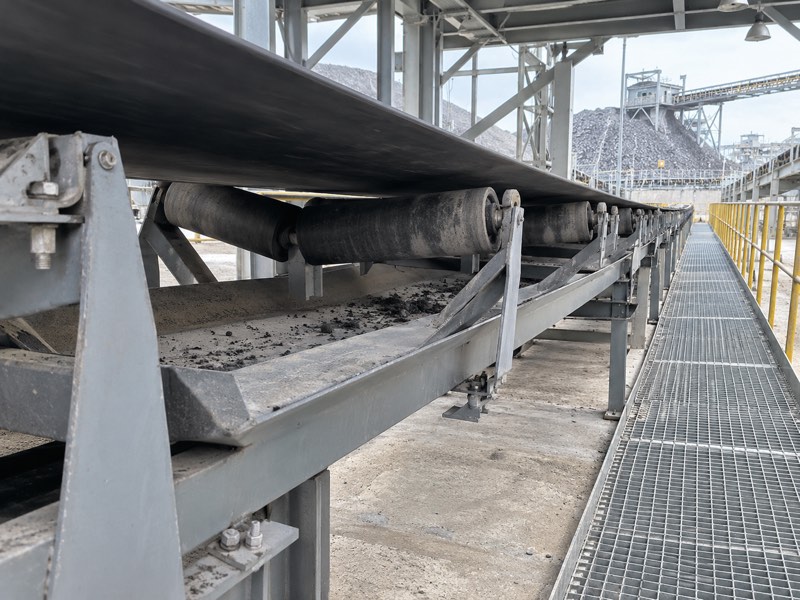
Clean a return roller conveyor using approved methods after isolation, with care around seals and belt surfaces. Deposits can hide defects, so cleaning may be needed before a useful inspection. But scraping a moving roller creates a pinch hazard. Unapproved jets or solvents may also damage protection or drive dirt toward bearing entrances.
What should you clear before inspecting parts?
Remove loose material without harming contact surfaces. Use tools and methods permitted by your equipment instructions. Catch removed material so it doesn’t collect elsewhere on the frame. If hardened deposits resist approved cleaning, ask for guidance before grinding, striking or applying chemicals to a roller.
- Clear loose fines around brackets and ends.
- Use approved tools for shell deposits.
- Keep waste clear of walkways and drains.
How can cleanup reveal a larger problem?
Record how fast buildup returns during normal service. If fresh deposits appear soon, inspect upstream cleaning and material behavior. A clean roller won’t stay clean when the carryback source remains unchanged.
| Deposit | Cleaning concern | Follow-up |
|---|---|---|
| Loose fines | Falling and spreading waste | Controlled removal |
| Hard buildup | Surface damage from tools | Approved cleaning guidance |
| Wet packed material | Seal and drainage exposure | Check water paths |
Key Takeaway: Clean under isolation, protect surfaces and use returning buildup as evidence for a wider carryback review.
4. Which shell defects require return roller review?
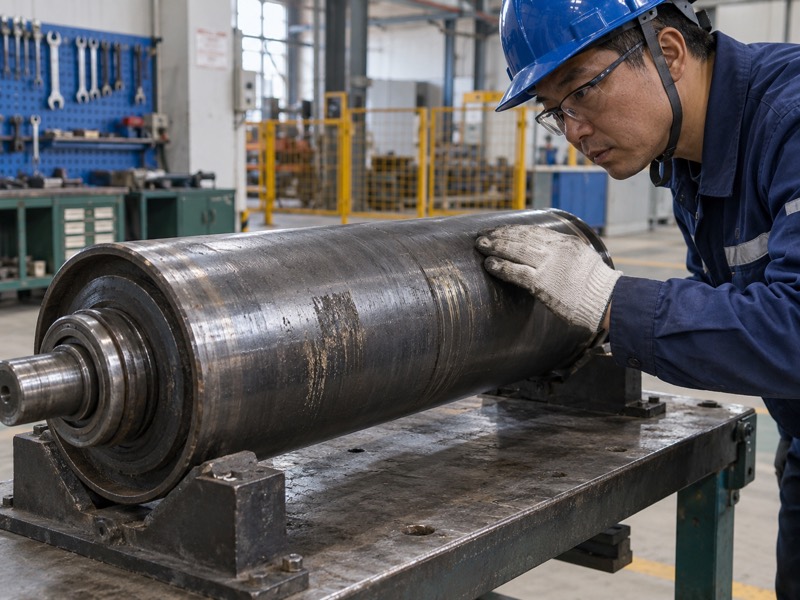
Your return roller conveyor needs shell review when you find sharp edges, dents, grooves or uneven deposits that change belt contact. A roller may still turn while its surface harms a belt. So inspect the full contact width after safe cleaning. Judge defects against approved service limits rather than assuming any rotating shell can remain in use.
What should your defect record include?
Connect damage with where the belt touches. Photograph both ends and the working surface. If wear appears in one band, compare that band with belt edges, joints or repairs. This can guide your next check without claiming that one wear pattern proves its cause.
- Record sharp areas, flats and deep grooves.
- Note damage across the contact width.
- Compare marks with belt contact positions.
When should you hold a roller from service?
Hold any part that fails your accepted criteria or needs a safety decision. Then obtain the required review before reuse. If you lack approved limits, ask the responsible equipment authority rather than inventing a remaining-life estimate.
| Shell finding | Possible effect | Review |
|---|---|---|
| Sharp projection | Local belt damage | Serviceability decision |
| Flat worn area | Uneven contact | Rotation and wear history |
| Thick deposit | Changed working diameter | Cleaning and tracking checks |
Key Takeaway: Check surface condition as well as rotation, and resolve questionable contact defects before returning a roller to service.
5. How do you check roller ends and bearings?
Check return roller conveyor ends for damaged protection, loose fit and rough rotation after approved isolation. Dirt outside an end shield shows exposure but doesn’t prove internal damage. If a roller resists turning, check external contact before blaming its bearings. Use manufacturer instructions to decide whether a sealed unit can be serviced or needs replacement.
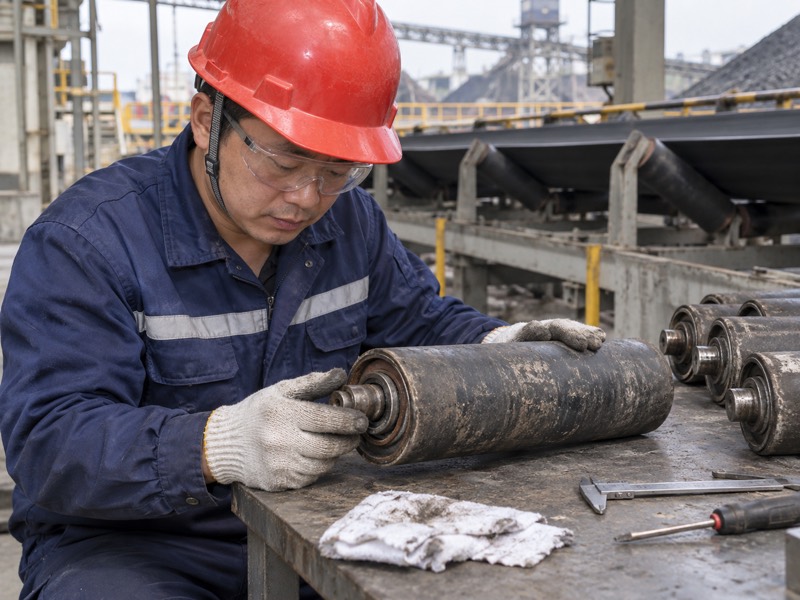
What should you check without opening a sealed unit?
Keep the protection system intact. Look for damaged shields, shaft movement and signs of interference. Don’t add grease or drill openings unless an approved procedure permits it. Such changes may alter internal conditions and leave your team with a roller whose protection no longer matches its specification.
- Inspect end covers and visible seal condition.
- Check for shell contact against nearby structure.
- Record roughness using an approved rotation check.
What information helps review repeated end faults?
Keep exposure, storage and handling records with the failed part. If faults cluster at wet stations, compare drainage and cleaning methods there. This may identify a cause that another identical bearing would still face.
| End finding | Follow-up check | Work direction |
|---|---|---|
| Broken shield | Handling or impact marks | Protection review |
| Rough rotation | External interference | Approved service or replacement |
| Wet buildup | Drainage and cleaning | Exposure correction |
Key Takeaway: Assess end protection and external interference before selecting a bearing-related repair.
6. What should you inspect on return roller mounts?
Inspect return roller conveyor mounts for full shaft engagement, worn slots, cracks and loose joints. A sound roller can move or sit unevenly if its bracket fails. So check frame condition before installing another part. Hanging arrangements also need their approved supports and restraints checked because their interfaces can differ from rigid brackets.
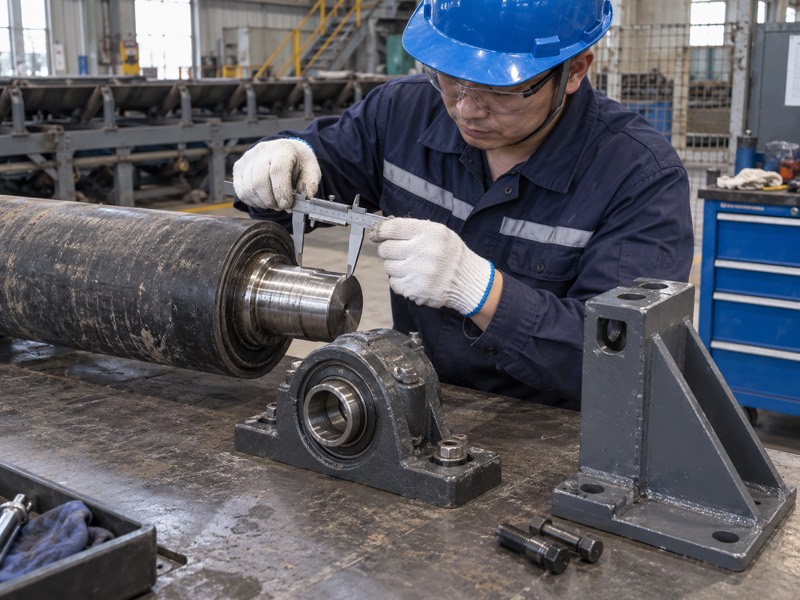
How can mount wear affect service?
Look for movement at restrained parts. Witness marks can show where a shaft has shifted. If a slot has worn wide, tightening another fastener may not restore correct restraint. Compare dimensions with your drawing and replace or repair affected supports through the approved method.
- Inspect shaft flats and supporting slots.
- Check cracks and loose mounting joints.
- Confirm hanging or rigid restraint details.
Which measurements help a repair order?
Record mounting span, end geometry and bracket condition together. Then your supplier can distinguish a roller mismatch from a worn support. Keep photographs as context, with dimensions as the basis for fit.
| Mount finding | Effect | Repair basis |
|---|---|---|
| Worn slot | Shaft movement | Original interface drawing |
| Bent bracket | Uneven seating | Approved frame geometry |
| Loose joint | Changing alignment | Correct joint repair |
Key Takeaway: Restore correct mounts and restraint before expecting a replacement roller to run properly.
7. How should you inspect return belt contact?
Inspect return roller conveyor contact by comparing belt position, roller condition and support alignment along several stations. If your belt drifts, note where that change begins. Deposits can alter contact, while damaged frames can tilt it. A local roller adjustment needs approval because it may move a symptom farther along the belt path.
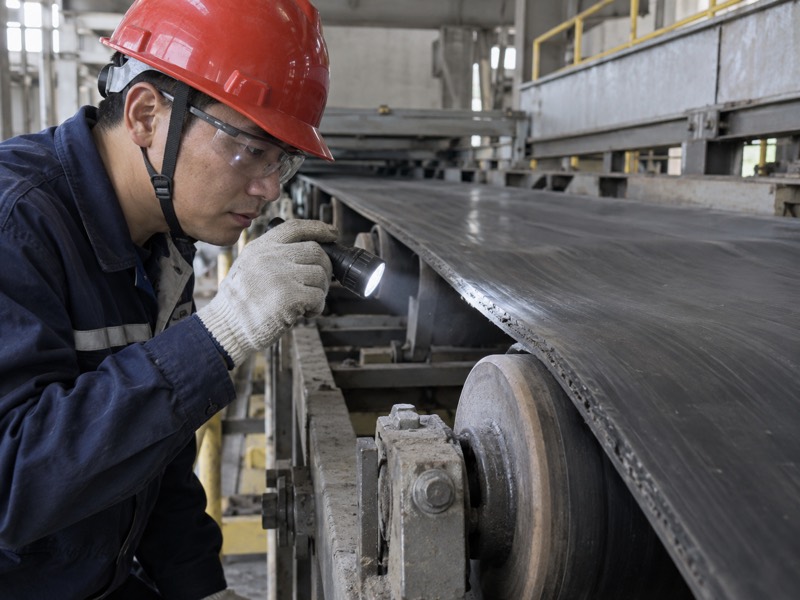
What should you compare along the route?
Trace contact before making adjustments. Record clean and dirty stations, where safe observation allows it. If drift changes with loading, include that detail in your review. You may also need to inspect carrying-run supports because belt behavior can begin elsewhere in the conveyor.
- Mark where drift or poor contact begins.
- Note deposits and differing support heights.
- Compare belt behavior with operating conditions.
How should you use guide components?
Review guide roller arrangements only within their approved role. Persistent hard edge contact deserves cause checks; forcing a belt against a guide can damage edges or overload components.
| Contact symptom | Check | Decision |
|---|---|---|
| Drift near buildup | Working diameter | Clean and review source |
| One uneven station | Frame geometry | Repair support |
| Hard edge contact | Belt path and guide role | Engineering review |
Key Takeaway: Trace belt behavior through several supports and resolve its cause before adjusting or adding guides.
8. What guards and access points need maintenance checks?
Your return roller conveyor guards and access points need checks for secure fixing, damage and safe service clearance. If a guard rubs a roller, it can create noise or stop rotation. But a removed guard also leaves a hazard. After any repair, restore approved guarding before release and document defects that prevent safe operation.
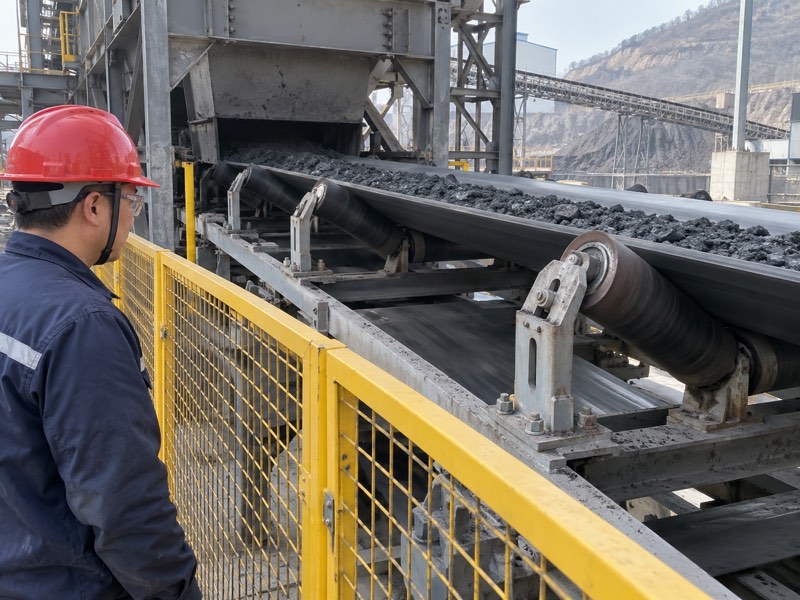
How should you check guard condition?
Inspect guarding as part of the repair. Confirm that fasteners and panels match the approved arrangement. Check clearances after mounts or rollers change. If a new component conflicts with a guard, resolve the fit issue rather than trimming protection through an informal field change.
- Inspect damaged panels and loose fixings.
- Check roller clearance after replacement.
- Keep access routes free of tools and fines.
What should happen when access remains unsafe?
Record the issue and obtain an approved access plan. Then your crew can complete inspection or repair using suitable equipment. A difficult location doesn’t reduce the need for isolation, guarding or controlled handling.
| Guard issue | Possible consequence | Required action |
|---|---|---|
| Loose panel | Exposed hazard or interference | Restore approved fixing |
| Roller contact | Noise or stopped shell | Resolve clearance |
| Blocked access | Unsafe maintenance route | Arrange approved access |
Key Takeaway: Treat guard restoration and safe access as required repair items, with confirmed clearances after component changes.
9. How should you plan a return roller replacement?
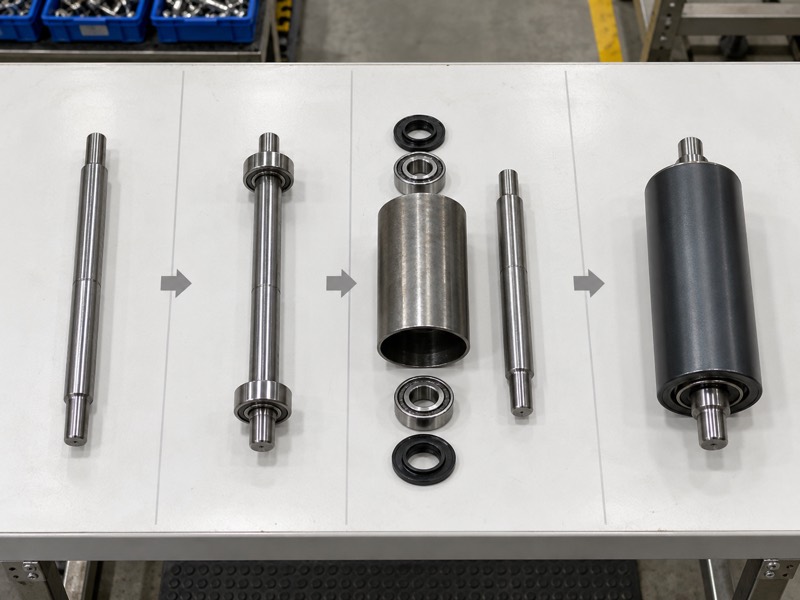
Plan a return roller conveyor replacement with verified part dimensions, handling needs and related frame repairs. A spare that looks right may have different shaft flats or contact diameter. So check it before taking it to a remote station. Include supports, restraints and guards in the work package if inspection found faults there.
Which spare details should you confirm?
Match the spare with its station. Compare your drawing revision with part identification and measured interfaces. If a disc or spiral variant replaces a plain shell, obtain compatibility approval first. Keep direction and orientation instructions with the part so installation doesn’t depend on memory.
- Verify shaft ends, span and contact dimensions.
- Check spare condition and storage damage.
- Attach approved variant and orientation details.
What can prevent a second maintenance visit?
Bring every approved repair item and suitable handling equipment. Then inspect the support once access is available. Document unexpected conditions before expanding work, especially if a damaged bracket changes the replacement method.
| Preparation item | Check | Avoided problem |
|---|---|---|
| Roller | Drawing fit | Incorrect spare |
| Mounts | Related damage | Incomplete repair |
| Handling | Approved work method | Unsafe removal or fitting |
Key Takeaway: Plan replacement as a complete station repair, with confirmed fit and appropriate handling before work starts.
10. How should you verify the maintenance result?
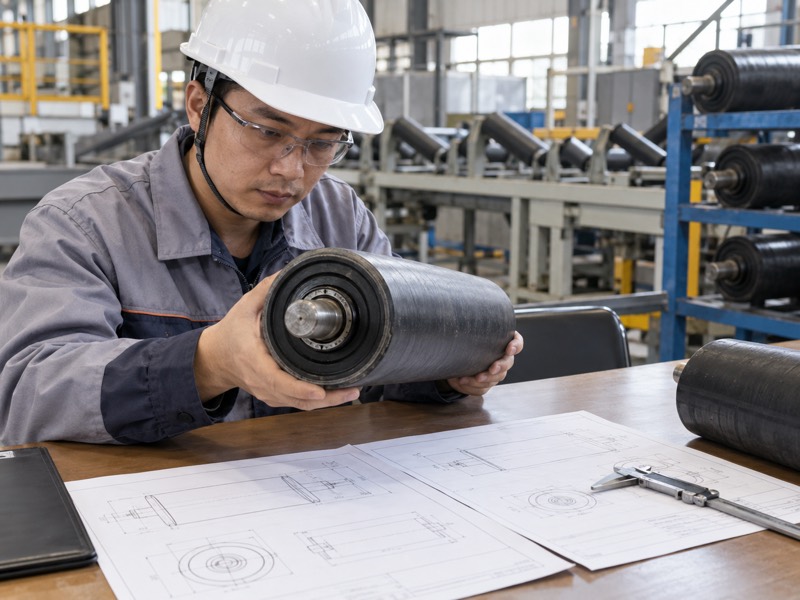
Verify your return roller conveyor maintenance result through completed fit checks, restored guards and safe restart observations. If the original symptom remains, record it before further adjustment. Compare conditions with the earlier fault record because loading and moisture can change behavior. A closed work order should show what was repaired and what evidence supports release.
What should you check before restart?
Close the physical work before testing operation. Remove tools and loose parts, confirm restraint and restore approved guarding. Then follow your site’s release and restart procedure. Observe from a protected route, and use normal monitoring to check for returning deposits or repeated poor contact.
- Check seating, restraints and related repairs.
- Restore guards and clear work areas.
- Record permitted restart observations and unresolved faults.
How can the record improve your next repair?
Keep failure photos and spare references with the station history. If faults repeat, review their pattern with your supplier and conveyor engineer. This supports a changed specification based on evidence rather than another guess.
| Completion record | Shows | Next use |
|---|---|---|
| Fit check | Correct installed interfaces | Spare validation |
| Restart observation | Repair outcome | Symptom comparison |
| Fault history | Repeated local conditions | Duty review |
Key Takeaway: Release work through your approved process and keep evidence that confirms fit, guarding and the observed repair result. For replacement support, contact us with shaft measurements, station photographs and carryback details. Request a quotation that confirms fit and states cleaning or orientation limits.
FAQ
Q1: Can I scrape a roller while the belt runs? No. Use approved cleaning tools after safe energy isolation.
Q2: Should I grease a sealed return roller? Only if its approved instructions require it. Unplanned lubrication can change protection or internal conditions.
Q3: How do I know whether buildup affects tracking? Compare deposit locations with belt behavior, then inspect cleaned contact and frame alignment safely.
Q4: Can I replace a plain shell with discs? Only after confirming belt compatibility, working geometry and approved installation requirements.
Q5: What’s the best record for repeated faults? Keep station references, conditions, photos, part details and verified repair outcomes together.