
Measure belt load, local tension, sag, support geometry and transfer conditions before changing conveyor idler spacing. Wider gaps can increase unsupported belt movement and load per supporting assembly. Closer stations introduce more components and may still leave a transfer problem unresolved. Your conveyor designer needs measurements from actual operating zones, with special attention to loading points and pulley transitions.
1. What does conveyor idler spacing describe?
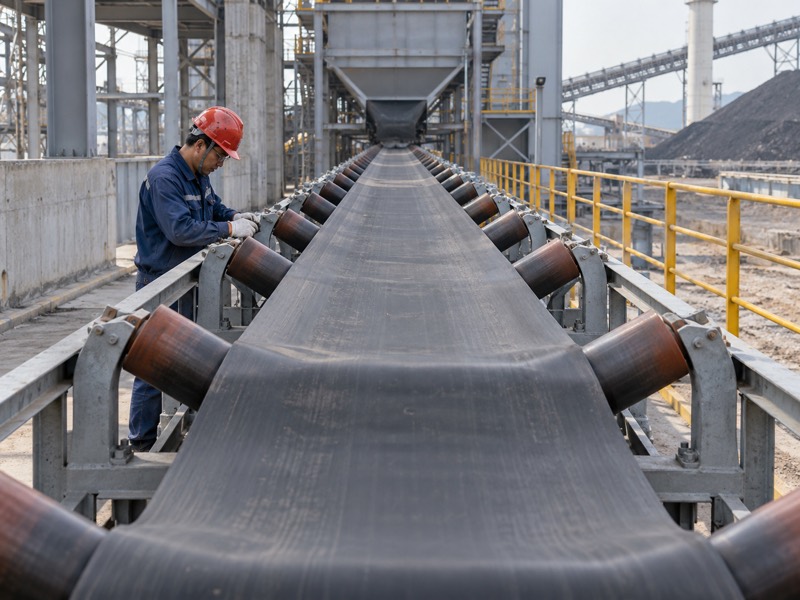
Your conveyor idler spacing describes the distance between successive support stations along a defined belt run. It normally concerns complete assemblies rather than gaps between rollers within one troughing set. Mixing these measurements can produce an incorrect layout. Define your reference points on a drawing before surveying equipment or asking a supplier to review a proposed arrangement.
Which references should you use?
Use consistent references for station centers. Measure along your approved conveyor reference line and identify inclined or curved sections separately. Include missing stations and local departures from drawings. A station list with position references provides better evidence than a single measurement selected from an easy-to-reach area.
- Identify carrying and return runs separately.
- Record center-to-center station positions.
- Mark loading points, transitions and layout changes.
How do you prevent measurement confusion?
Use photographs for context and dimensioned records for decisions. State whether a measurement represents longitudinal spacing, trough geometry or clearance between adjacent shell ends.
| Measurement | Describes | Useful record |
|---|---|---|
| Station spacing | Longitudinal support intervals | Conveyor layout |
| Trough geometry | Roller arrangement across belt | Assembly drawing |
| Shell-end gap | Adjacent roller clearance | Interface detail |
Key Takeaway: Establish a clear spacing definition and reference line before comparing your installation with its design.
2. How does conveyor idler spacing affect supported load?
Changing conveyor idler spacing changes how much belt and material each support station carries under comparable operating conditions. Wider intervals place more distributed load between supports. Actual reactions also depend on trough shape, belt stiffness and loading distribution. You cannot confirm suitability from interval length alone without checking assembly capacity and relevant operating cases.

What load information should you collect?
Connect spacing with material distribution. A centered load and an off-center load can give different reactions across one assembly. Include belt mass and operating throughput information with belt speed and bulk material properties. Ask your designer to assess loaded starts and foreseeable upset conditions separately from steady operation.
- Record belt construction and mass information.
- Describe material distribution across its width.
- Provide normal and exceptional loading conditions.
What should a capacity review distinguish?
Separate ratings for individual rollers from ratings for complete assemblies and frames. Confirm assumptions so an apparently adequate component doesn’t conceal an unsuitable supporting structure.
| Input | Why you need it | Review question |
|---|---|---|
| Distributed mass | Establishes supported demand | What load reaches each station? |
| Cross-belt distribution | Changes roller reactions | Which roller governs? |
| Operating cases | Defines varying demand | Are loaded starts covered? |
Key Takeaway: Evaluate roller, shaft and frame demand together whenever a spacing change alters supported load.
3. Why does belt tension affect conveyor idler spacing?
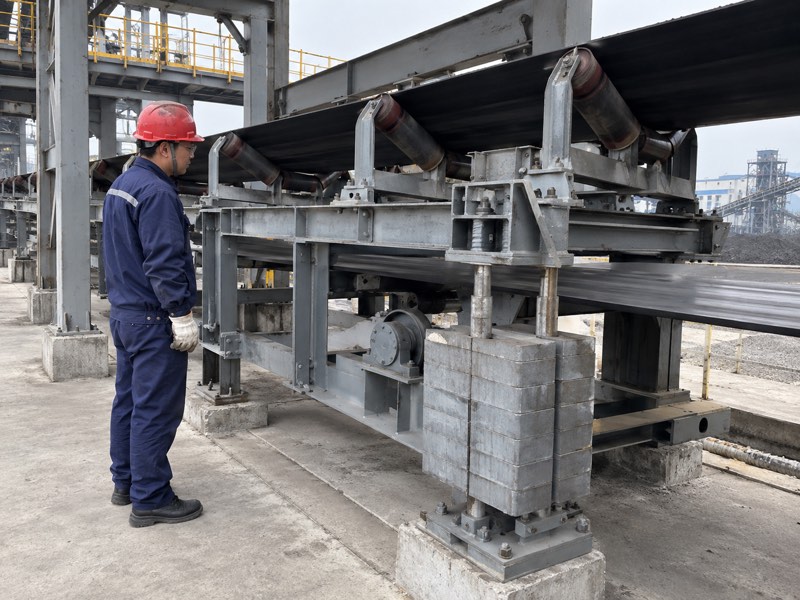
Local belt tension affects acceptable conveyor idler spacing because tension resists deflection between supporting stations. Under otherwise comparable conditions, lower tension allows more sag. Tension varies along a conveyor and across operating states. A spacing arrangement suitable in one zone may require a different assessment elsewhere, especially around loaded starts, take-ups and return runs.
Where should tension information come from?
Use your conveyor’s tension analysis. Drive selection, take-up behavior and belt strength constrain permitted tension. Raising tension solely to address sag can affect other components. Give measured symptoms and operating conditions to your conveyor engineer rather than changing a take-up without an approved adjustment procedure.
- Obtain current design tension information by zone.
- Identify loaded, unloaded and starting conditions.
- Record take-up condition and known adjustments.
How should you assess low-tension locations?
Map observed sag against station positions and operating state. Your engineer can then review support intervals alongside the conveyor’s complete tension system and belt limits.
| Location information | Possible concern | Required assessment |
|---|---|---|
| Low local tension | Increased sag | Local support requirement |
| Changed take-up | Altered tension distribution | Complete system review |
| Loaded start | Different demand | Starting condition analysis |
Key Takeaway: Review spacing with local tension data; don’t use an unapproved tension increase as a substitute for design checks.
4. How should you observe sag before changing spacing?
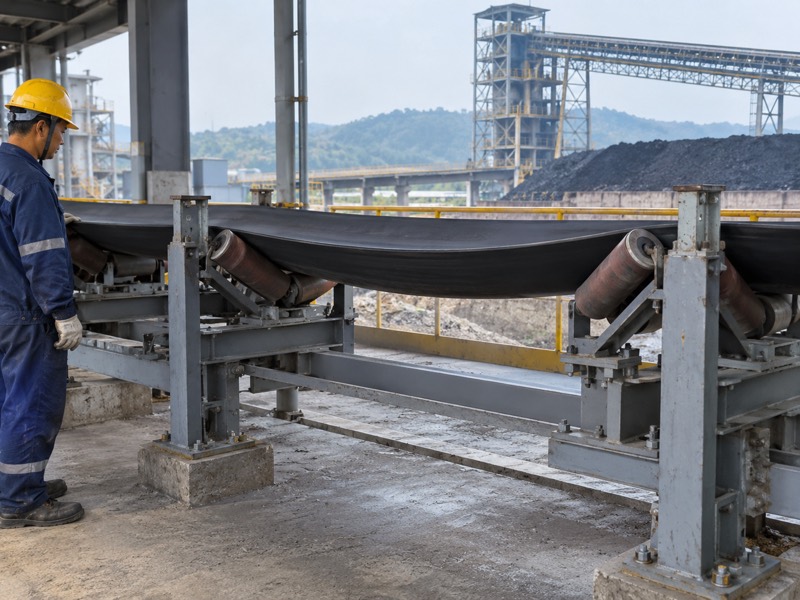
Observe sag under documented operating conditions before changing conveyor idler spacing, then compare findings with your belt design requirements. Sag can vary with feed rate, tension and material distribution. A photograph from an empty conveyor won’t establish loaded performance. Observe moving equipment safely; before close checks, follow site-approved lockout and tagout procedures.
Which symptoms should you record together?
Record movement as well as geometry. Excessive deflection can disturb material and affect contact around transfer equipment. Apparent sag may also reflect missing support, worn shells or different station heights. Check those conditions before assuming your original design interval was unsuitable.
- Identify loading state and measurement location.
- Document support height and missing components.
- Record spillage or unstable material movement nearby.
What makes a measurement useful for review?
State the datum, method and operating state. Repeat observations where your approved process permits, especially if a symptom occurs intermittently rather than during every production cycle.
| Observation | Additional check | Possible next step |
|---|---|---|
| Local deflection | Missing or low support | Restore intended arrangement |
| Broad loaded sag | Load and tension | Engineering spacing review |
| Intermittent movement | Feed and operating state | Investigate changing conditions |
Key Takeaway: Collect repeatable sag evidence and eliminate missing or uneven supports before proposing a new interval.
5. How should loading zones change spacing decisions?
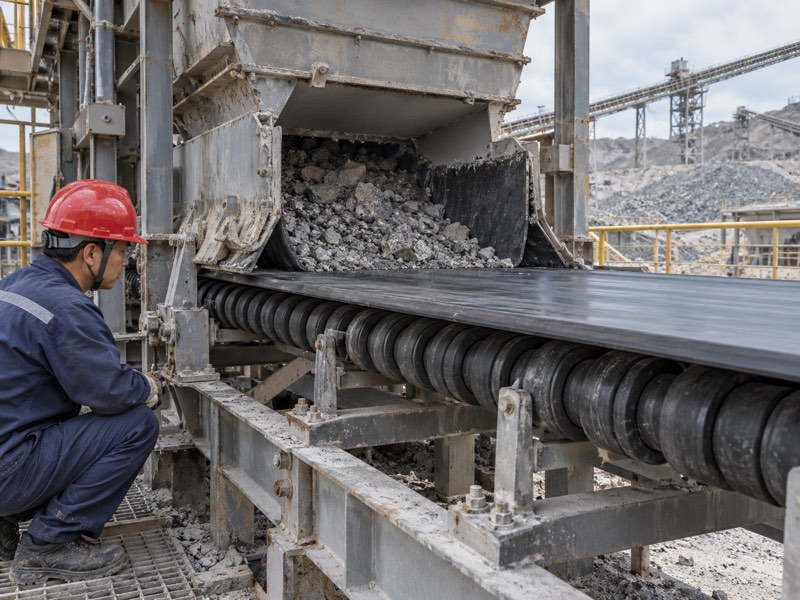
Loading zones need a separate conveyor idler spacing assessment because falling material adds impact and concentrated demand. Belt support also affects skirt contact and leakage. Closely spaced ordinary carrying rollers may still lack suitable impact construction. Review transfer trajectory, material lump characteristics and loading support together before modifying a station layout.
What should you inspect at a transfer point?
Match support with material arrival. Identify where incoming material lands and whether support covers that region. Observe from protected positions during permitted operation, then inspect isolated equipment closely. A changed chute arrangement can shift impact outside the originally supported zone even when conveyor throughput remains unchanged.
- Record drop geometry and material landing position.
- Inspect skirt contact and nearby support elevation.
- Identify changes in lump size or feed arrangement.
Which components merit separate review?
Evaluate impact rollers against your loading duty. Selection should account for complete supports and transfer geometry, including compatibility with skirts and service access.
| Transfer condition | Support question | Engineering action |
|---|---|---|
| Concentrated landing | Is support beneath impact? | Review impact arrangement |
| Skirt leakage | Does belt move between supports? | Review sealing-zone support |
| Chute modification | Has arrival position changed? | Recheck transfer layout |
Key Takeaway: Treat loading-zone spacing as part of a transfer design review rather than extending a uniform carrying-run rule.
6. Why do pulley transitions need separate spacing checks?
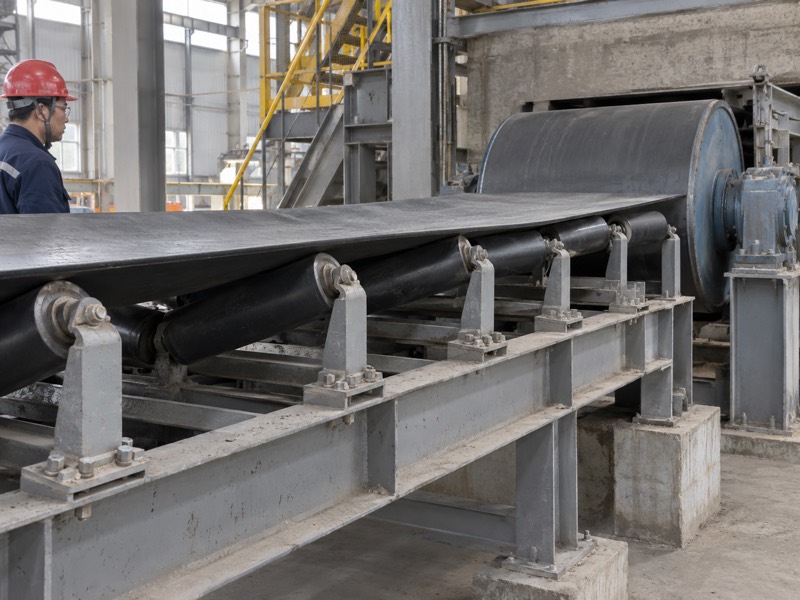
Pulley transitions need separate conveyor idler spacing checks because your belt changes shape between a troughing run and a pulley. Belt construction, tension and trough geometry influence that change. A short or incorrectly supported transition can impose unfavorable belt stresses. Adding an ordinary station without reviewing transition geometry may leave the underlying condition unresolved.
Which transition details belong in your survey?
Measure shape changes station by station. Record pulley position, support elevations and roller arrangements approaching it. Check whether installed components match the approved transition drawing. Keep transition length and longitudinal station intervals distinct in your records, since both describe geometry but answer different questions.
- Obtain belt manufacturer transition requirements.
- Record trough arrangements and elevation changes.
- Mark pulley tangency and support positions.
Who should approve a changed arrangement?
Your conveyor designer should coordinate support positions with belt requirements and pulley geometry. Describe observed contact or edge problems without assigning a universal transition distance.
| Survey item | Establishes | Review basis |
|---|---|---|
| Belt construction | Shape-change limits | Manufacturer requirements |
| Pulley geometry | Transition endpoint | Conveyor drawing |
| Progressive supports | Installed belt shape | Approved transition arrangement |
Key Takeaway: Confirm transition design before relocating supports near a pulley or replacing a progressive arrangement with uniform stations.
7. Should return-side conveyor idler spacing match carrying runs?
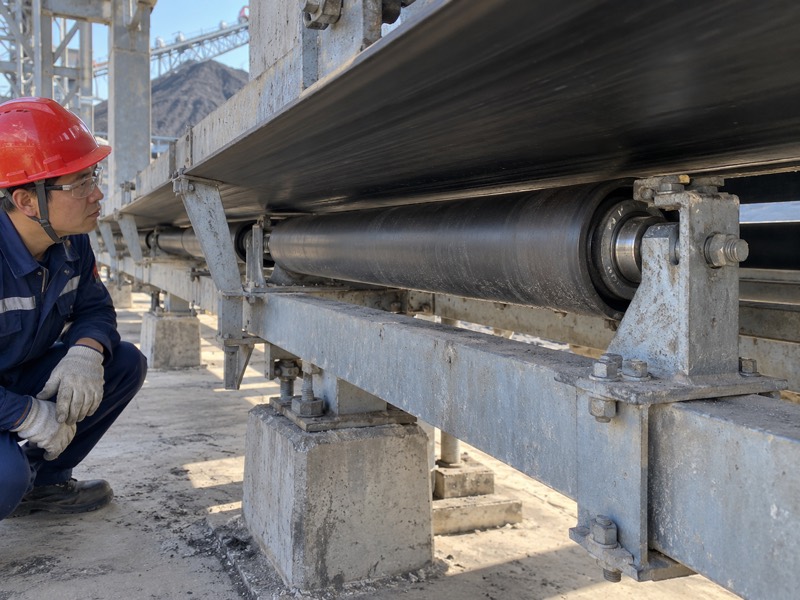
Return-side conveyor idler spacing should follow return-run requirements rather than automatically matching carrying stations. Return supports carry belt weight and any retained material under different tension and geometry. V-return and flat-return arrangements also contact belts differently. Assess those conditions separately so your survey doesn’t apply loaded-run assumptions to an unrelated support duty.
Which return conditions affect support needs?
Inspect what travels back with your belt. Carryback can accumulate on shells and change contact geometry. Water, belt repairs and local obstructions may also affect behavior. Check return roller options alongside belt cleaning and layout rather than using spacing changes to conceal persistent contamination.
- Record flat or V-return support arrangements.
- Describe carryback and wet-service conditions.
- Inspect clearances, contact and frame alignment.
How should you compare both belt runs?
Maintain separate station schedules with corresponding tension and loading information. This avoids ordering identical replacements or modifying intervals merely because frames appear similar.
| Belt run | Main supported demand | Separate review item |
|---|---|---|
| Carrying | Belt plus conveyed material | Load distribution |
| Return | Returning belt and carryback | Contact and contamination |
| Local special zone | Site-dependent demand | Approved arrangement |
Key Takeaway: Keep carrying and return spacing decisions separate, with their own load, tension and contamination records.
8. Can closer conveyor idler spacing solve every belt problem?
Closer conveyor idler spacing cannot solve every belt problem because misalignment, damaged supports and poor loading need their own corrective work. Additional stations may reduce unsupported spans but add components and maintenance locations. Their benefits depend on the condition being addressed. Confirm why a proposed change should help before adding frames to an existing conveyor.

Which faults should you correct beforehand?
Restore intended geometry before redesigning it. Missing rollers, bent frames and uneven elevations can imitate a spacing problem. Verify baseline condition and record prior modifications. If material arrives off-center, a revised feed arrangement may be relevant alongside support changes, subject to engineering approval.
- Repair damaged frames and incomplete assemblies.
- Check belt path and loading position.
- Document why your existing layout differs from drawings.
How can you compare a proposed change?
Define the expected operational result and an approved verification method. Include service access and structural attachments so extra stations don’t introduce inaccessible components or unreviewed frame loads.
| Problem evidence | Likely review | Spacing role |
|---|---|---|
| Missing support | Maintenance restoration | Recover original interval |
| Off-center feed | Transfer alignment | Supporting consideration |
| Confirmed excessive span | Engineering redesign | Direct design variable |
Key Takeaway: Approve a spacing change only after identifying its target problem and checking installation consequences.
9. What information supports a conveyor idler spacing review?
A conveyor idler spacing review needs a position survey, operating data, assembly drawings and evidence of observed belt behavior. Your engineer must understand both intended design and installed condition. Separate measured facts from estimates and mark unknown values. That distinction prevents a rough field assumption from becoming an unchallenged design input.

How should you assemble a review package?
Give each measurement an identifiable location. Use a station schedule and annotated layout outside your publishable operating instructions. Include belt construction and known tension data from approved documents. Photographs should show context without replacing dimensions, and every proposed change should have a clear revision reference.
- Attach station positions and assembly details.
- Include belt, material and operating-state information.
- Provide sag observations and previous maintenance changes.
Which unknowns should remain visible?
List unavailable tension, loading or belt data for engineering resolution. Asking for a recommendation despite missing inputs should not turn that recommendation into an unconditional installation approval.
| Package item | Evidence type | Handling of uncertainty |
|---|---|---|
| Station layout | Measured dimensions | Flag inaccessible locations |
| Belt duty | Approved operating data | Identify estimated inputs |
| Performance issue | Recorded observation | State operating conditions |
Key Takeaway: Send traceable measurements and visible unknowns so your engineer can review spacing without guessing hidden assumptions.
10. What should you verify before approving a spacing change?
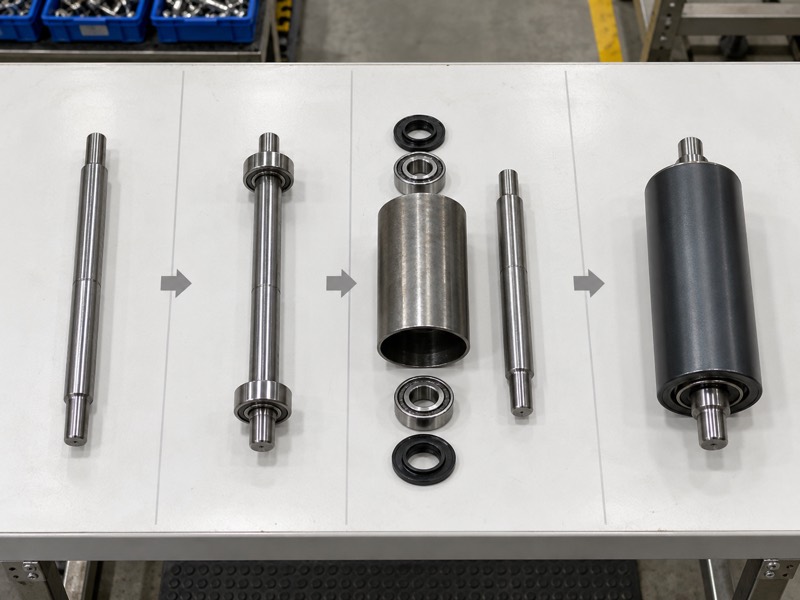
Approve a conveyor idler spacing change only after reviewing support loads, belt behavior, structural fit and service access under relevant operating conditions. Your change process should include installation drawings and a defined verification plan. Check that replacement rollers match approved frame interfaces. Purchasing can then compare quotations against one complete arrangement instead of a loosely described extra-support request.
What belongs in change approval?
State what will be installed and checked. Record revised station positions and component specifications. Include guarding and access requirements before work starts. After installation, follow site restart procedures and compare safe operating observations with the documented problem that prompted your review.
- Approve revised drawings and component duty.
- Confirm structure, guards and maintenance clearance.
- Define safe verification and follow-up inspection.
How do you make purchasing support the design?
Request rollers and frames by approved position and drawing revision. Resolve substitutions before release so altered dimensions or construction don’t silently change the reviewed arrangement.
| Approval item | Decision required | Resulting record |
|---|---|---|
| Engineering | Load and belt suitability | Revised arrangement |
| Installation | Fit and safe access | Work package |
| Verification | Expected operating behavior | Acceptance observations |
Key Takeaway: Treat spacing changes as documented conveyor modifications with engineering approval and an observable verification result. For a quotation against your approved layout, contact us with station drawings, roller interfaces and operating conditions. Request confirmation of component fit and proposed construction before ordering.
FAQ
Q1: What’s the best spacing for every conveyor? There isn’t one universal interval. Belt load, local tension, geometry and support ratings determine your design.
Q2: Can I reduce sag by tightening my take-up? Only under an approved procedure. Increased tension affects belt, pulleys and other components.
Q3: Should loading zones use ordinary carrying spacing? Not automatically. Review impact, transfer geometry and skirt support separately.
Q4: Can I measure spacing from photographs? Use photographs for context. Confirm dimensions with a survey tied to defined station references.
Q5: How do I know whether added stations helped? Compare approved operating observations with your original recorded problem under comparable conditions.