
Inspect a carrying idler by recording belt contact, roller rotation, shell condition and frame alignment before selecting corrective work. A noisy assembly may contain a seized bearing, trapped material or a loose bracket. Replacing whichever part sounds loudest can leave another fault untouched. Observe safely, then follow site-approved hazardous-energy control procedures before approaching rollers or removing guards.
1. What should a carrying idler inspection cover?
A carrying idler inspection should cover every roller and its supporting frame, including contact with a loaded belt. Your observations need a location reference so maintenance can find each defect. Record operating conditions alongside symptoms because an empty belt can conceal uneven loading. Treat audible noise as a starting clue rather than a complete diagnosis.
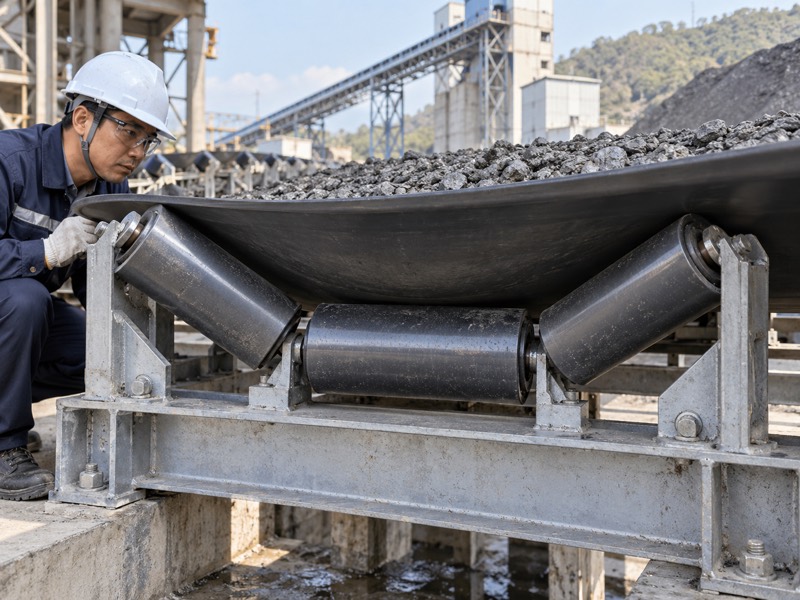
What can you observe while running?
Keep observations outside guarded machinery. From an approved walkway, watch for stationary shells, unstable belt contact and escaping material. Use permitted monitoring equipment without reaching through guards. If a defect presents immediate danger, follow site procedures for stopping equipment and restricting access before investigating.
- Record conveyor, station and roller position.
- Note loaded or empty operating condition.
- Describe noise, visible motion and material buildup.
How do you create a useful inspection record?
Use repeatable descriptions and photographs from safe positions. Separate confirmed defects from suspected causes so a later technician can check your reasoning without repeating assumptions.
| Observation | Record | Next check |
|---|---|---|
| Unusual noise | Location and operating state | Isolated rotation assessment |
| Belt movement | Direction and loading pattern | Frame and feed alignment |
| Surface buildup | Material and affected rollers | Cleaning and carryback source |
Key Takeaway: Record position, operating state and observable symptoms before assigning a cause or ordering replacement parts.
2. How can you identify a seized carrying idler roller?
A carrying idler roller may be seized when its shell remains stationary while a moving belt slides across it. Confirm from a protected observation point because dust or lighting can obscure rotation. Sliding contact can damage shell and belt surfaces. Stop and isolate equipment before checking rotation by hand or inspecting a suspect roller closely.
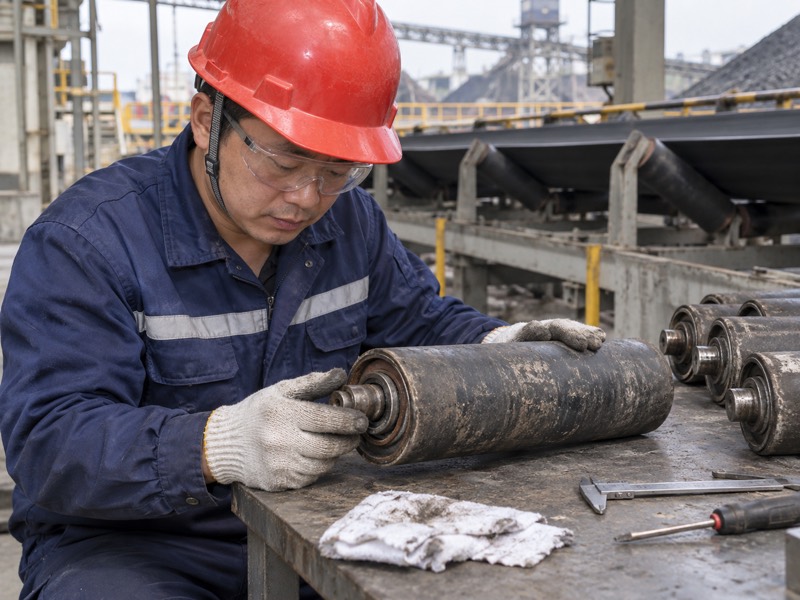
What should you check after isolation?
Separate seizure from external obstruction. Trapped material, damaged guards or distorted brackets can prevent rotation without an internal bearing seizure. Support removed components securely before testing them. A roller that turns freely after removal still needs examination for contact damage and incorrect seating within its original frame.
- Look for material wedged around shell ends.
- Inspect brackets and guards for contact marks.
- Assess rotation using your approved maintenance method.
Which result changes your repair decision?
Document whether resistance remains after external interference has been removed. Follow manufacturer guidance on complete replacement or service; opening a sealed roller can compromise its protection.
| Finding | Likely investigation | Work direction |
|---|---|---|
| External obstruction | Buildup or interference | Remove cause and inspect damage |
| Rough internal rotation | Bearing or assembly condition | Replace or approved service |
| Free removed roller | Mounting distortion | Check installed seating |
Key Takeaway: Confirm whether resistance comes from internal damage or external interference before deciding how to repair the assembly.
3. What does carrying idler shell wear tell you?
Wear on a carrying idler shell can reveal abrasive contact, sliding against a stopped roller or uneven belt loading. Wear patterns alone don’t prove one cause. Compare neighboring rollers, material condition and rotation records before drawing conclusions. A thin or damaged shell requires assessment against approved replacement criteria rather than an improvised remaining-life estimate.
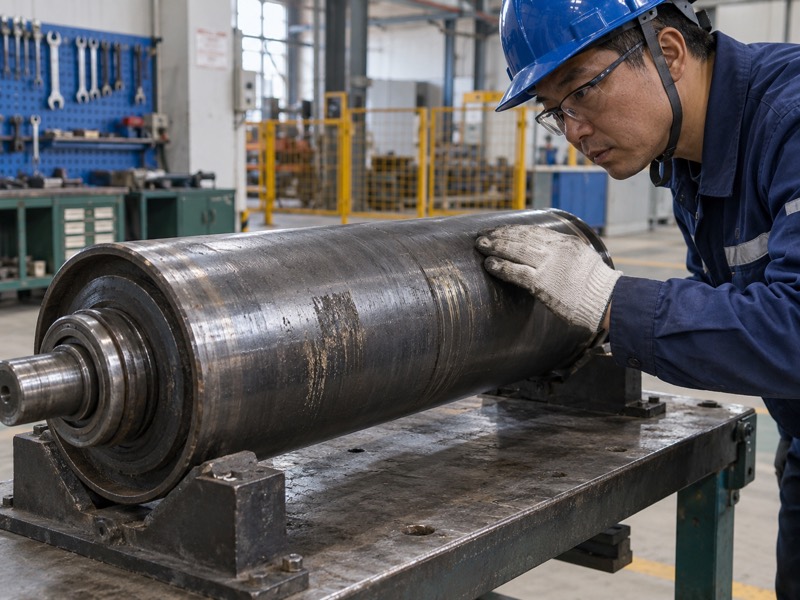
Which wear features should you document?
Read wear together with contact position. A narrow groove and broad uniform abrasion imply different contact histories. Check whether affected regions align with belt edges, seams or persistent material buildup. Document sharp projections promptly because they can damage a belt even if a roller still rotates.
- Photograph grooves, flats, dents and sharp edges.
- Record affected shell position across its width.
- Compare wear with belt contact and material deposits.
When should you consider another duty type?
Repeated damage at a loading point may require a review of impact-zone support. Confirm transfer conditions before substituting roller types or changing an approved assembly.
| Wear pattern | Check alongside it | Decision evidence |
|---|---|---|
| Flat contact area | Rotation history | Sliding or seizure evidence |
| Local groove | Belt contact position | Concentrated abrasion source |
| Dent or sharp edge | Transfer and handling history | Repair or replacement criteria |
Key Takeaway: Use wear patterns to guide investigation, then judge serviceability against an agreed acceptance or replacement standard.
4. How should you interpret carrying idler noise?
Noise from a carrying idler should be assessed alongside rotation, vibration, temperature observations and mounting condition. A rattle may come from a loose bracket, while rough rolling can suggest internal damage. Conveyor noise travels through structure and can mislead your ears. Confirm location using approved observation methods before tagging a roller for removal.
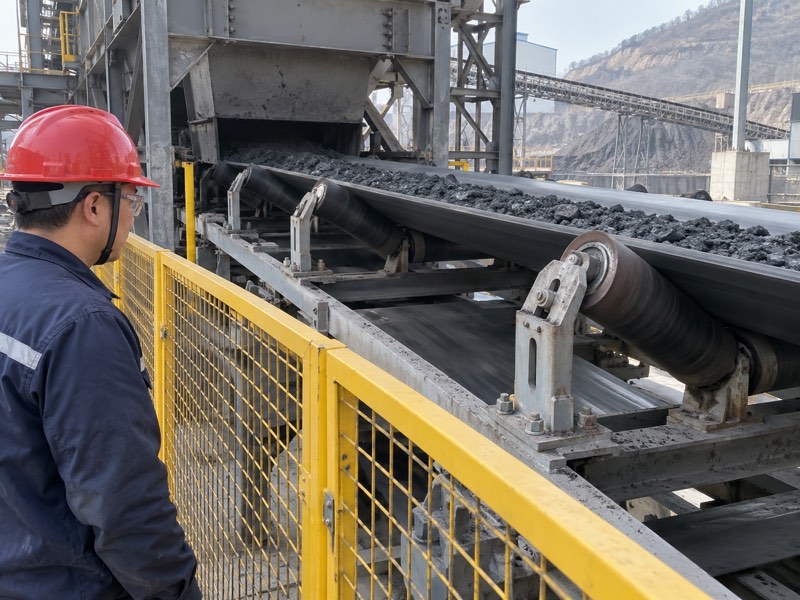
How do you avoid an uncertain diagnosis?
Compare a suspect station with nearby stations. Record whether noise changes with loading or speed where normal operation permits observation. Don’t create abnormal operating conditions purely for a casual inspection. Use isolated checks and available monitoring records to separate structural movement from roller resistance.
- Note repeatable noise character and location.
- Check bracket fasteners after energy isolation.
- Compare findings with rotation and contact records.
What can monitoring data establish?
Trends can identify changing behavior but need a consistent measurement setup. Use manufacturer or site alarm criteria; an unexplained sound doesn’t establish a bearing’s remaining life.
| Sound or trend | Possible area | Confirmation needed |
|---|---|---|
| Rattle | Loose mounting | Isolated fastener inspection |
| Rough rolling | Bearing or internal fit | Controlled rotation check |
| Periodic contact | Runout or interference | Shell and clearance inspection |
Key Takeaway: Combine noise with physical evidence; avoid replacing a roller solely because sound appears to come from its station.
5. What can temperature reveal about a carrying idler?
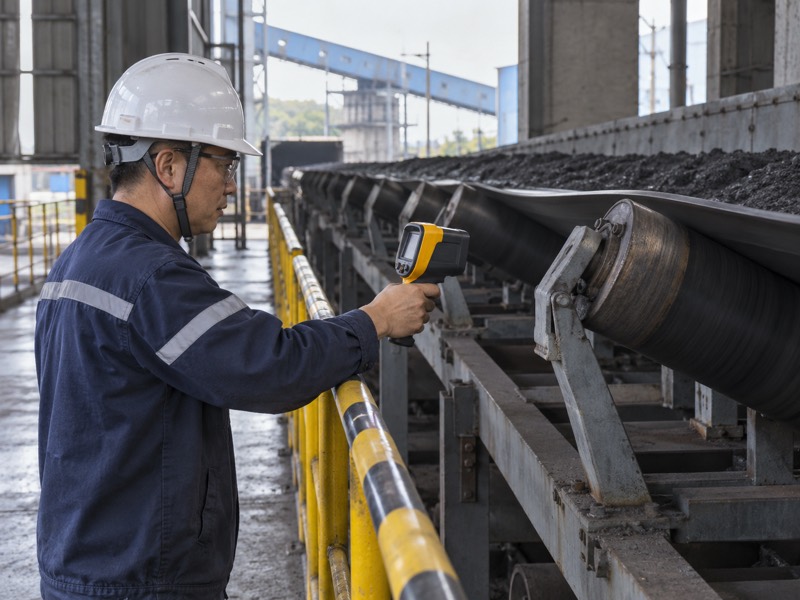
Temperature observations can identify a carrying idler that differs from comparable neighboring assemblies. They cannot establish a defect without considering sunlight, material temperature and measurement method. Compare like positions under similar operating conditions. Use approved alarm limits and avoid touching roller ends or approaching moving equipment to check whether they feel hot.
How can you make comparisons reliable?
Keep conditions consistent during temperature measurements. Surface finish and viewing angle can affect noncontact readings. Record your instrument, target location and operating state with each observation. A change deserves investigation when it persists under comparable conditions, especially if accompanied by rough rotation or abnormal noise.
- Compare equivalent positions within similar assemblies.
- Note sunlight, weather and conveyed material temperature.
- Follow site rules for instrument use and alarms.
Which conclusions should remain conditional?
A hotter reading may indicate friction, but heating can have other causes. Confirm its origin after isolation and preserve monitoring data for subsequent comparison.
| Temperature finding | Check | Interpretation limit |
|---|---|---|
| One warm end | Rotation and bearing condition | Reading alone cannot confirm failure |
| All exposed rollers warm | Sun and material conditions | Environment may dominate |
| Rising comparable trend | Noise and operating history | Consistent setup required |
Key Takeaway: Use temperature as comparative evidence and follow approved thresholds; don’t invent a universal rejection temperature.
6. How do seals and contamination affect carrying idler faults?
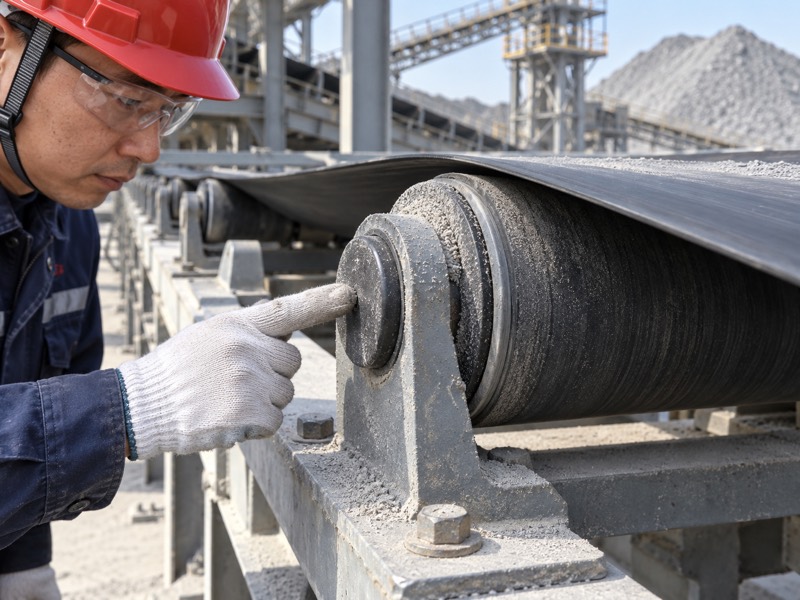
Contamination can affect carrying idler bearings when fines or moisture pass through damaged or unsuitable protection. Deposits outside a seal don’t prove that material reached its bearing. Record exposure patterns and inspect end condition after isolation. Repeated faults in wet locations justify a review of drainage, cleaning practices and sealing arrangements rather than repeated replacement alone.
Where should you look for ingress conditions?
Check how moisture remains around roller ends. Packed fines can retain water and hide damage. Clean using approved methods so examination doesn’t force more contamination into an assembly. Don’t apply unapproved pressure washing, solvents or extra grease to sealed components.
- Inspect end shields and visible seal damage.
- Record accumulated material around brackets.
- Check drainage and cleaning exposure at fault locations.
How can you investigate repeated failures?
Compare failure positions with site exposure and storage practices. Request supplier review of protection details where evidence suggests contamination; a new bearing designation alone may leave ingress unchanged.
| Finding | Exposure question | Corrective review |
|---|---|---|
| Wet end-area fines | Does water drain freely? | Drainage and cleanup |
| Damaged protection | Did handling or impact occur? | Assembly and handling methods |
| Repeated local faults | What differs at this station? | Seal suitability and exposure |
Key Takeaway: Investigate why contamination reaches a fault location before ordering another identical replacement.
7. How can frame damage mimic a carrying idler problem?
A damaged frame can make a carrying idler appear faulty by changing shaft seating, contact height or assembly alignment. New rollers may remain unevenly loaded in bent supports. Inspect brackets and crossmembers before concluding that repeated belt contact problems come from roller manufacture. Keep undocumented bending or shimming out of your repair process.

What should you check at mounting points?
Inspect restraint before changing alignment. Worn slots can let shaft ends move even when fasteners remain tight. Look for witness marks, cracks and incomplete engagement. Confirm any planned adjustment against your conveyor drawing so one station doesn’t create a new discontinuity in belt support.
- Check shaft flats and bracket-slot wear.
- Inspect cracks, loose bolts and distorted crossmembers.
- Compare seating height with neighboring stations.
Why inspect other belt runs?
A belt path problem may involve pulleys, loading or return assemblies as well. Observe where drift begins before adjusting carrying supports.
| Mounting defect | Possible symptom | Repair priority |
|---|---|---|
| Worn slot | Shaft movement | Restore approved restraint |
| Bent crossmember | Uneven contact | Restore frame geometry |
| Loose fastener | Noise or changing alignment | Repair joint and inspect damage |
Key Takeaway: Restore sound mounting geometry before using roller replacement as a remedy for uneven contact.
8. When does belt contact require a wider inspection?
Uneven belt contact requires a wider carrying idler inspection when faults continue across several stations or change with loading. Off-center feed, damaged belt structure and misaligned components can affect multiple rollers. A local adjustment may move symptoms elsewhere. Trace your belt path and material loading while keeping observations outside guarded areas.

How should you trace recurring symptoms?
Locate where behavior begins changing. Compare upstream and downstream stations under similar conditions. Record whether a belt loses contact, shifts laterally or spills material at a repeatable location. Give your conveyor engineer those observations before altering trough geometry, spacing or support arrangements.
- Note changes near loading and transition points.
- Compare loaded and empty observations where permitted.
- Check whether one defect or several stations are involved.
Which evidence helps engineering review?
Mark affected positions on a conveyor layout. Include photographs, operating state and previous adjustments so engineering can distinguish an original problem from changes introduced during maintenance.
| Symptom extent | Investigation scope | Useful record |
|---|---|---|
| One station | Roller and frame | Local inspection results |
| Several stations | Feed and belt path | Location sequence |
| Load-dependent | Material distribution | Loading observations |
Key Takeaway: Expand inspection when symptoms span multiple stations; avoid treating a conveyor-wide issue as isolated roller wear.
9. How should you prioritize carrying idler repair work?
Prioritize carrying idler repairs according to observed risk, site procedures and approved serviceability criteria. A sharp damaged shell or confirmed seizure needs different attention from a cosmetic coating defect. Your inspection record should distinguish urgent isolation from planned maintenance. Don’t assign universal time limits without considering belt condition, material and access restrictions.
What should a defect tag communicate?
Describe a fault that another crew can verify. Give location, condition and supporting evidence. Avoid vague tags such as bad roller when a record can state shell stopped during running observation. If continued operation requires engineering approval, document that decision through your site’s process.
- State confirmed condition and supporting observations.
- Identify isolation or operating restrictions.
- List required parts and frame repairs together.
How do you prevent repeat work?
Group related tasks within an approved maintenance window. Stock correct mounting variants and check replacement condition before transport to remote sections of your conveyor.
| Defect class | Planning question | Required action |
|---|---|---|
| Immediate hazard | Can operation continue safely? | Follow stop and isolation procedure |
| Serviceability concern | What criterion has been exceeded? | Schedule approved corrective work |
| Cosmetic condition | Does it affect function? | Record and monitor as appropriate |
Key Takeaway: Prioritize work from documented conditions and site rules, then order every part needed for a complete repair.
10. What should you verify after carrying idler replacement?
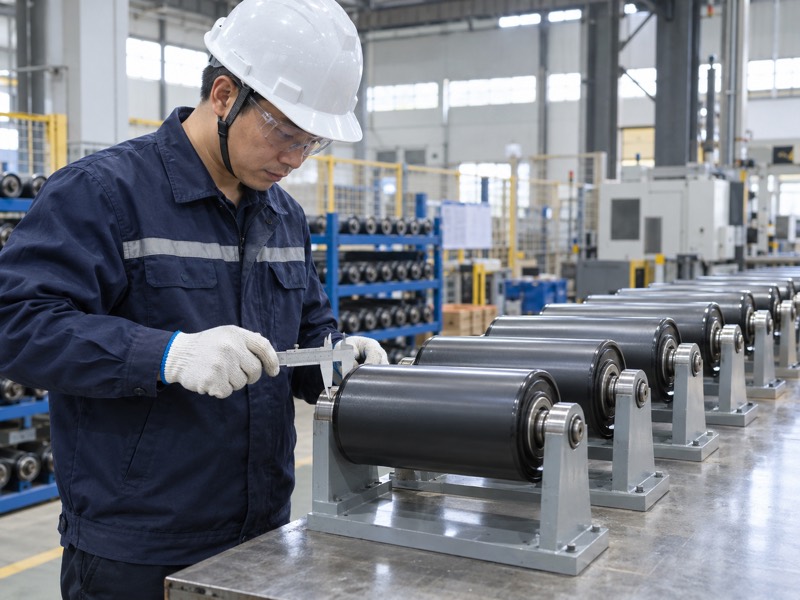
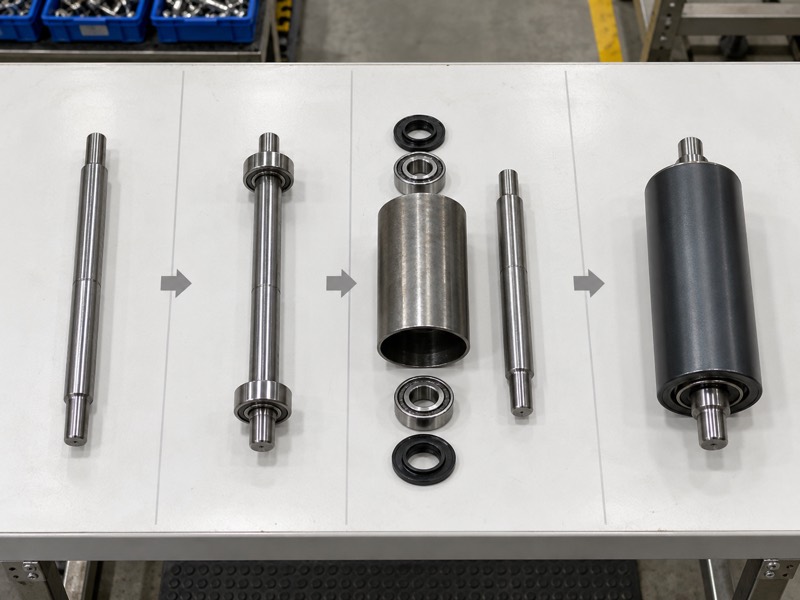
Verify carrying idler fit, seating, free rotation and restored guarding before returning equipment to service. Your maintenance team should follow approved restart procedures and inspect operation from protected positions. Record whether original symptoms remain under comparable loading. A successful installation includes a checked repair outcome, rather than merely a new roller in place.
Which checks close the maintenance record?
Confirm the fault has changed as expected. Check related frame repairs, retained parts and completed housekeeping before release. Monitor the repaired station through your normal inspection process. If drift, heat or noise persists, reopen investigation with updated evidence instead of making repeated unrecorded adjustments.
- Verify drawing fit and complete shaft engagement.
- Restore guards and remove tools or loose material.
- Record safe restart observations and remaining issues.
What information helps your next replacement order?
Keep failed-part photographs, measurements and location history. These records let purchasing request a suitable replacement and clarify recurring duty problems with its supplier.
| Completion item | Evidence | Follow-up |
|---|---|---|
| Mounting | Seating and fastener check | Release under site procedure |
| Operation | Comparable observation | Confirm symptoms resolved |
| Fault history | Photos and part reference | Improve replacement specification |
Key Takeaway: Close a repair only after installation checks and safe operating observations support its result. For replacement assistance, contact us with roller dimensions, fault photographs and conveyor conditions. Request confirmation of shaft fit and sealing suitability alongside your quotation.
FAQ
Q1: Can I check a moving roller by hand? No. Stay outside guards and isolate equipment before physical inspection.
Q2: How do I know whether noise means bearing failure? Confirm with location, mounting and isolated rotation checks. Noise alone cannot identify its cause.
Q3: Can a new roller correct a bent frame? No. Restore approved frame geometry and shaft restraint before installation.
Q4: What’s the best inspection interval? Use site risk assessment, operating conditions and manufacturer guidance; review intervals when fault patterns change.
Q5: Should I reuse a roller that turns after cleaning? Only after approved inspection confirms serviceability, surface condition and correct installed clearance.